This post may contain affiliate links. This blog generates income via ads.
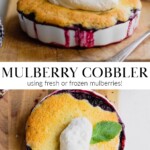
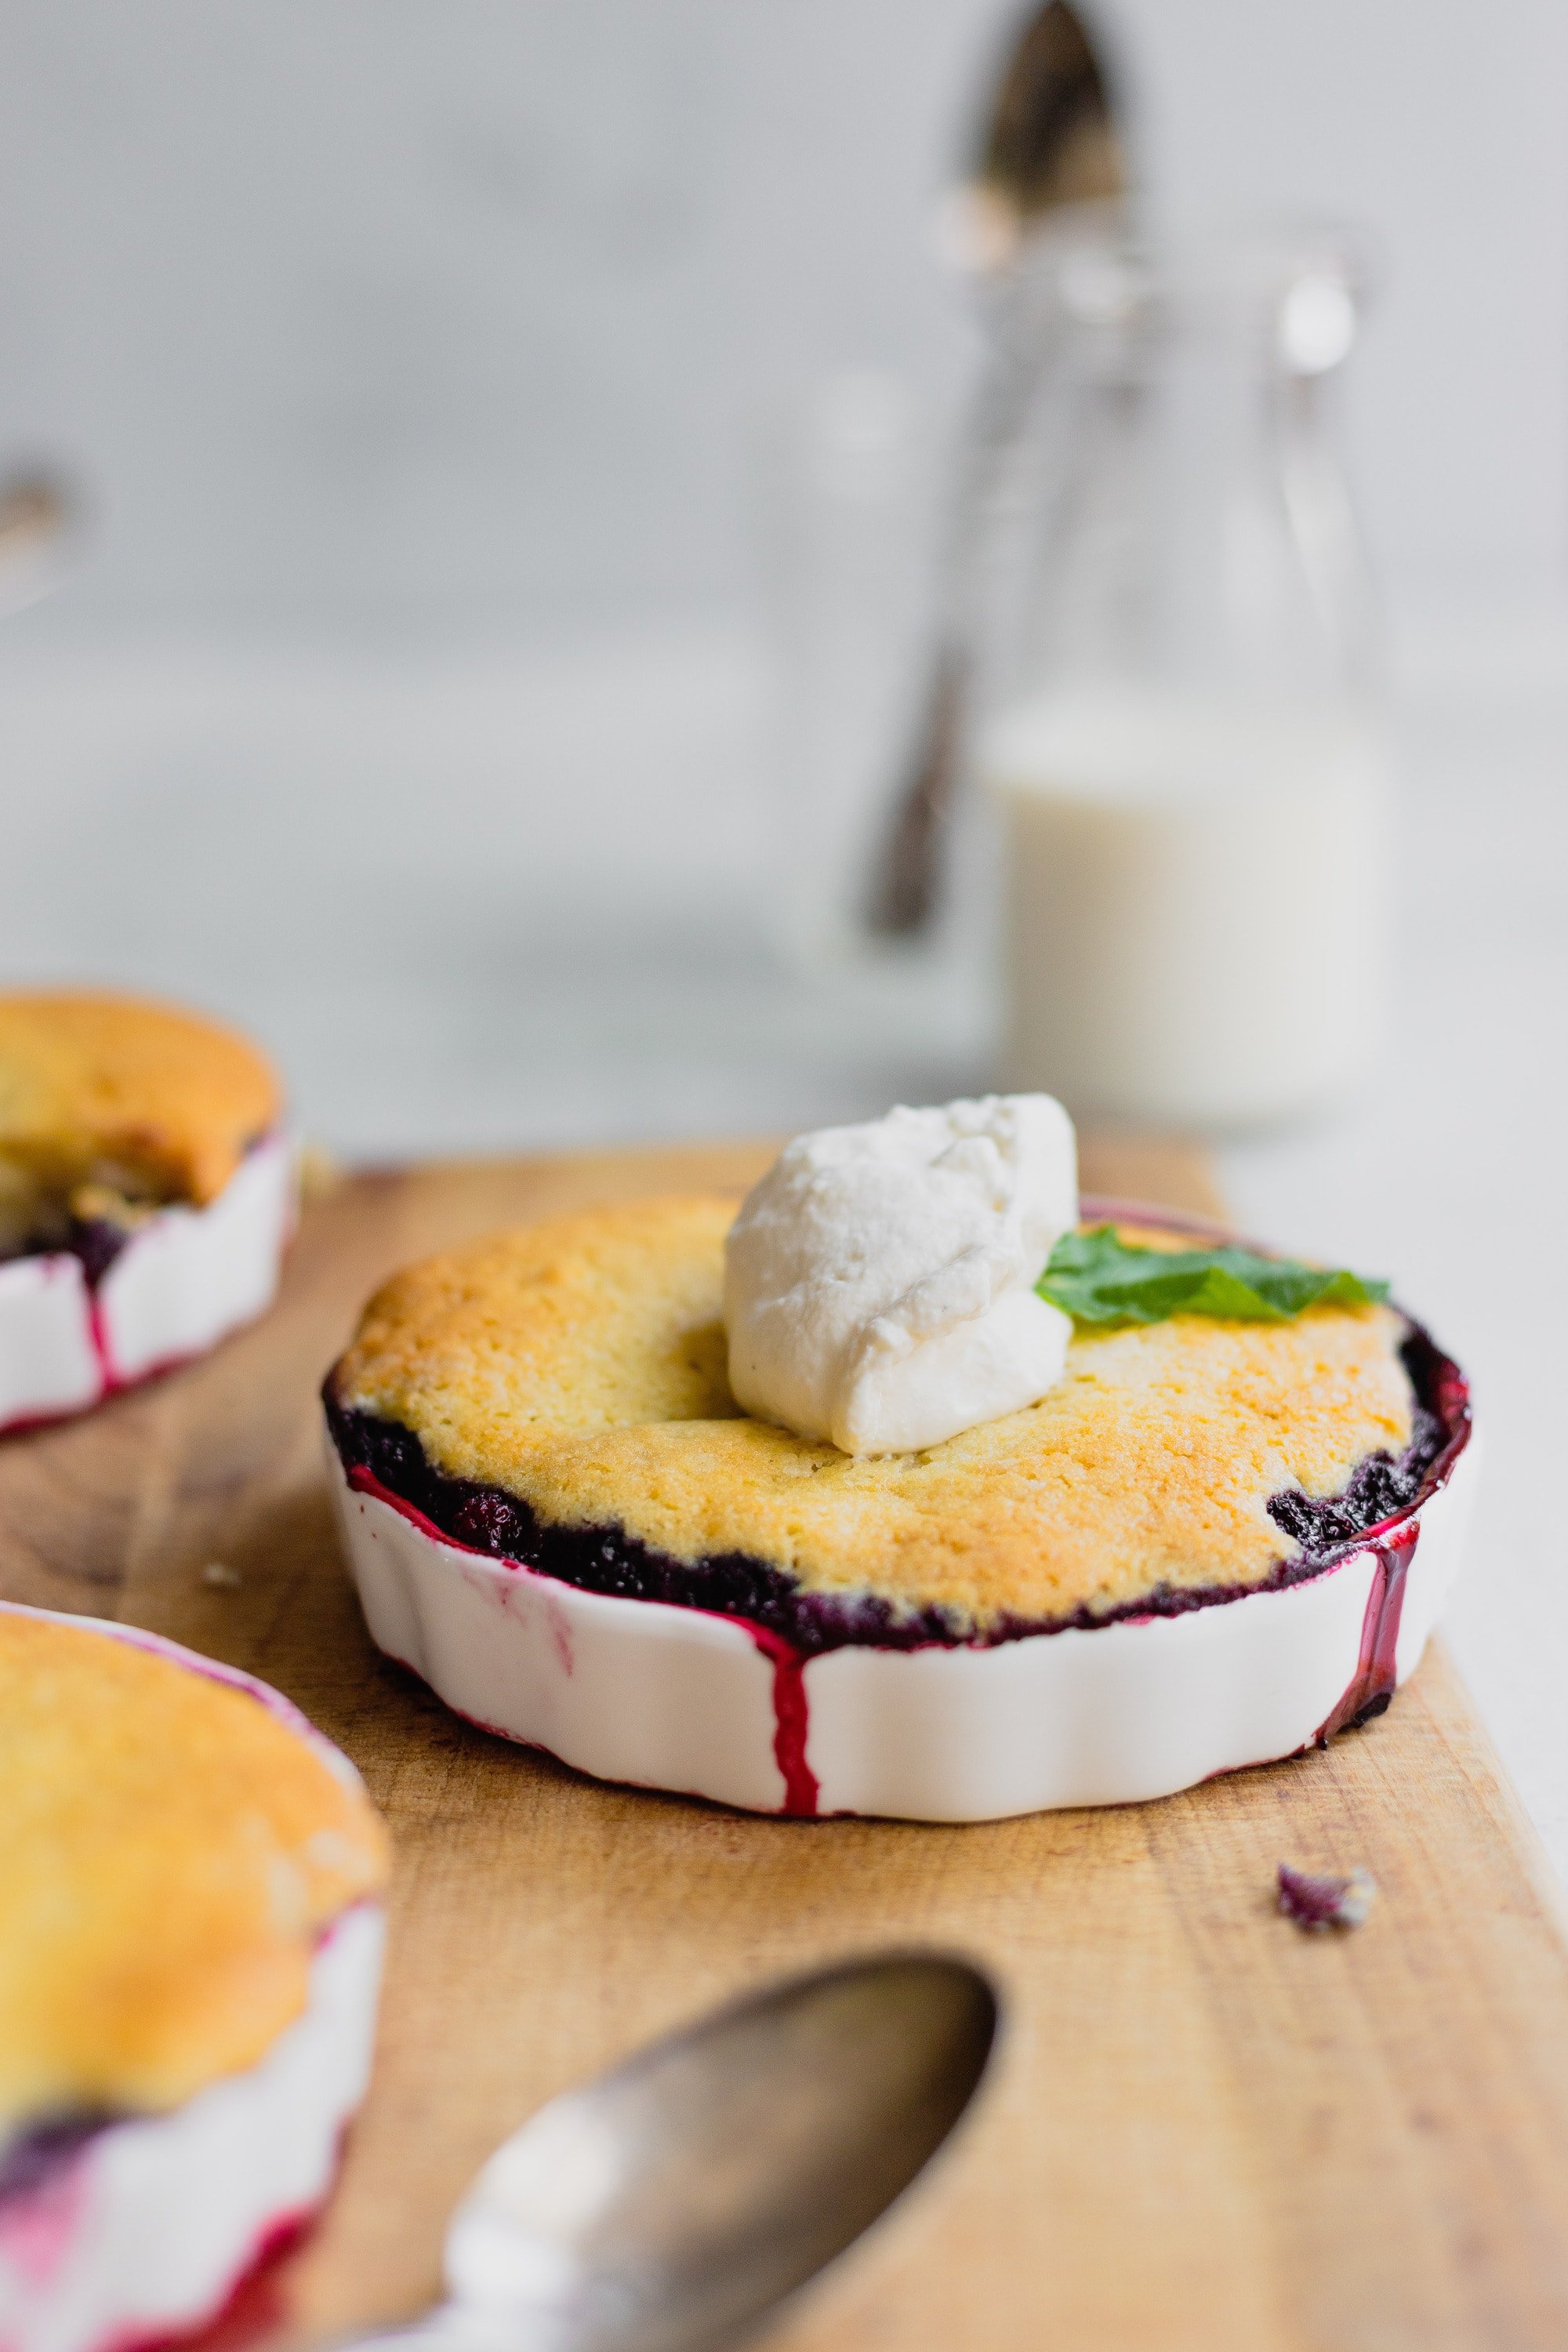
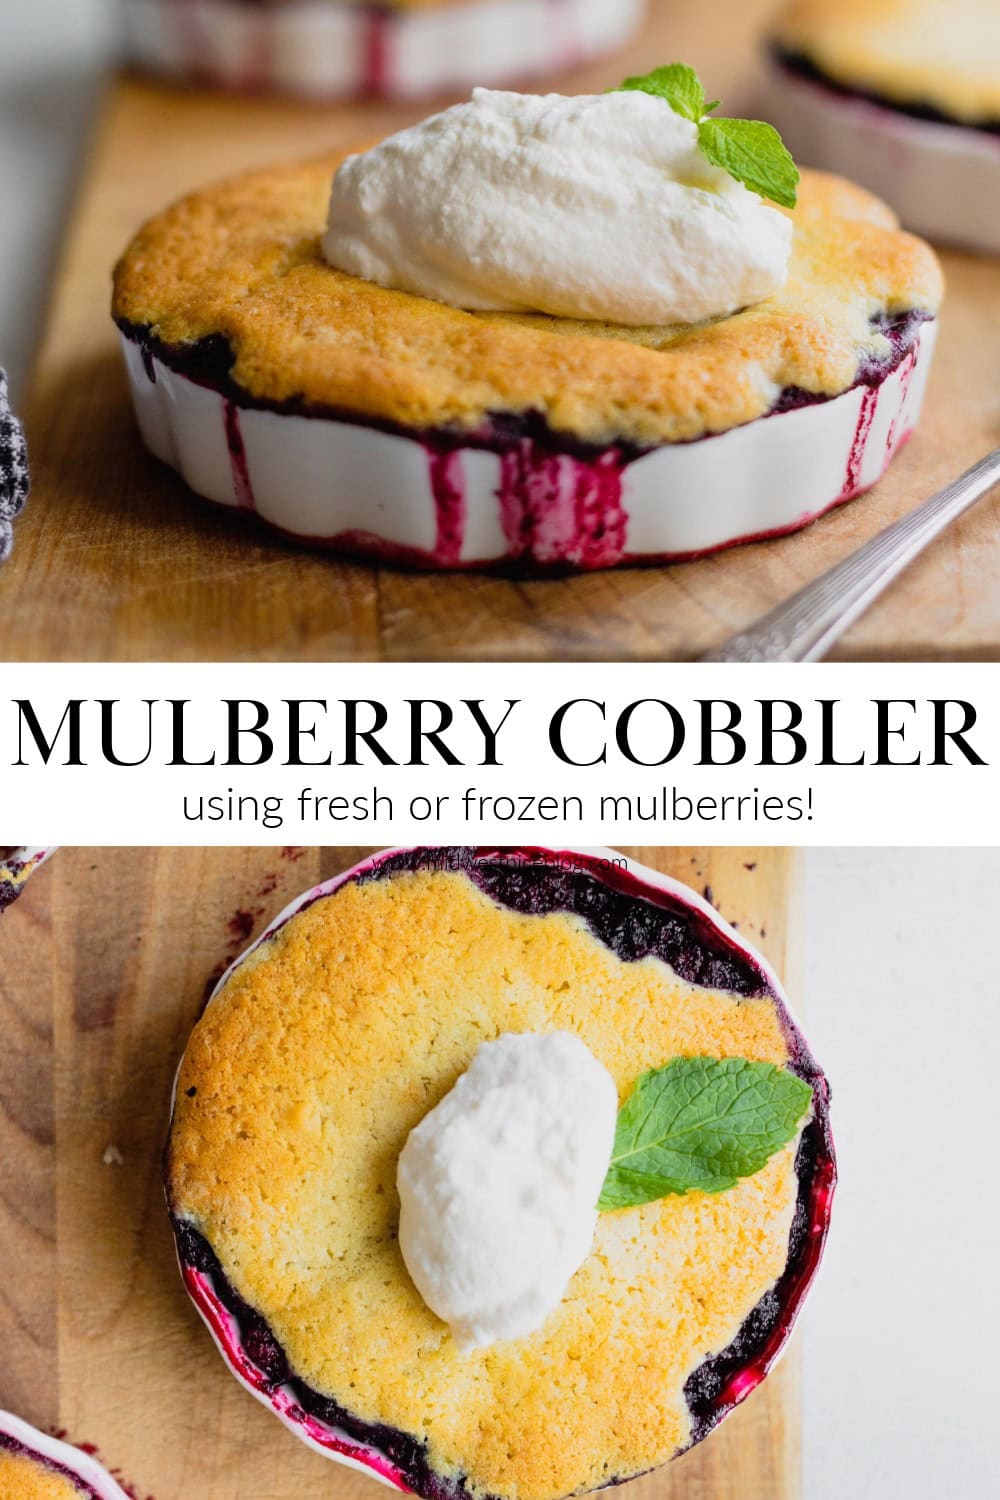
Fresh mulberry cobbler is the perfect recipe to showcase this sweet summer berry. Bursting, juicy mulberries are covered in a classic and cakey cobbler topping. Serve with whipped cream or vanilla bean ice cream for a fabulous summer dessert recipe!

We have trees down our lane that are lousy with mulberries during the summer. I’ve loved finding recipes to showcase their natural sweetness and flavor.
Like my mulberry crumb cake, mulberry muffins, mulberry cheesecake squares, and even no-churn mulberry ice cream to name a few!

This cobbler recipe is definitely high on the list of favorites, though! The filling is fruit forward and the topping is light, cakey, and full of vanilla flavor.
Perfect Fruit Cobbler Filling
As with most fruit-based recipes, like a pie or a rhubarb crisp, it’s important that the consistency is correct.
There’s nothing worse than a runny fruit filling that leeches out all over the place after the first scoop. But! It can’t be so firm that it’s like spooning jelly onto a plate.
So, how do we achieve a sugary stability in our fruit fillings? Cornstarch!
Cornstarch is my secret weapon for fruit-filled desserts! It binds and thickens and steadies the whole situation. In this recipe we mix a few tablespoons into the filling, along with sugar and lemon juice.

Easy Cobbler Topping Recipe
The topping for this cobbler recipe is what I would call traditional. It’s very cake-y and just a touch sweet. It’s not a biscuit-based topping, which some people prefer on their cobblers, instead coming from an easy vanilla cake batter.
Basically, we’re making a baby batch of cake and then covering our fruit filling with it.
My favorite thing about this recipe is that the topping has the texture and flavor of a cake, but not the height. Almost like a pancake and cake had a baby. And that baby was this fresh mulberry cobbler!


Frozen Fruit Cobbler Fillings
While it's always great to use fresh fruits when possible, I also love using frozen mulberries to make a dessert like this in the colder months. It's like a mini-warm weather vacation in the dead of winter.
I also freeze fresh rhubarb and freeze cranberries during their peak seasons to enjoy them throughout the year.


Fresh Mulberry Cobbler Recipe
Ingredients
For the berry filling:
- 8 cups mulberries
- ⅓ cup sugar
- ¼ cup cornstarch
- 1 lemon juiced
For the cobbler topping:
- 12 tablespoons unsalted butter, at room temperature
- ⅔ cup sugar
- 2 cups flour
- ¾ tsp. baking soda
- ½ tsp. salt
- 1 egg, at room temperature
- 1 tsp. vanilla extract
- ½ cup whole milk at room temperature
Instructions
For the berry filling:
- In a glass bowl, toss the berries with the sugar, corn starch, and lemon juice. Set aside while you prepare the topping.
For the topping:
- In the bowl of a stand mixer fitted with the paddle attachment, cream together the butter and sugar until light and fluffy, about five minutes. Scrape down the bowl as necessary.
- Meanwhile, in a separate bowl, whisk together the flour, baking soda, and salt.
- Add the egg and vanilla to the butter and sugar mixture, creaming well to incorporate. Scrape down the sides of the bowl again.
- Add ½ of the dry ingredients to the wet ingredients and mix slowly to combine. Stir in the milk, followed by the remaining dry ingredients. Scrape down the sides of the bowl to be sure all the ingredients are fully incorporated.
For the cobbler:
- Preheat oven to 350 degrees before preparing the filling and cobbler.
- After mixing the berry filling and the cobbler topping, you’ll want to assemble the cobbler. For individual servings, divide the berry filling evenly among 10 ramekins. Alternatively, pour berries into a 9x13 pan or large cast-iron skillet.
- Using a large cookie scoop, portion out the cobbler topping evenly among ramekins. If baking in a large pan, space out the batter portions by ½ - 1 inch all around the pan.
- Bake in preheated oven for 20 – 25 minutes for the small ramekins or 40 – 45 minutes for a large pan, or until the top of the cobbler is golden brown and the filling is bubbling.
- Remove from oven and allow to cool for at least 15 minutes before topping with fresh whipped cream or vanilla bean ice cream.
Notes
- To avoid drips/a messy oven, it is a great idea to place ramekins or the baking dish on a large, rimmed baking sheet to catch any liquid that bubbles over the top during baking.
- To store leftover cobbler simply wrap in plastic and refrigerate for up to three days.
Nutrition


Gene Peplinski says
Made this cobbler in my dutch oven on the grill with 21 charcoal briquets, 7 on the bottom 14 on top and it turned out delicious. I only used a tablespoon of corn starch and would use more on my next try, the berries really did juice more than I expected but mulberries in a cobbler are great!
Amanda Gajdosik says
Hi Gene,
Yes, mulberries have a lot of moisture and tend to be watery - that's why I developed the recipe to use 1/4 cup of cornstarch to help alleviate that issue!
Best of luck next time,
Amanda
Cyndi says
This cobbler is so dry. I won't be making it again.
Amanda Gajdosik says
Hi Cyndi,
I'm wondering if you could be more specific for me? Did you find the fruit filling too thick? Or the cobbler topping dry? I'm only curious as I've had other readers claim the opposite - saying it was too runny or the topping wasn't fluffy enough - so I reworked the recipe a bit. Perhaps I went too far in the opposite direction for your tastes? Though I thoroughly enjoyed it the last time I made it. I do know that depending on when we get our mulberries and from which tree makes a difference in how juicy the berries are, and, thus, how runny or thick the fruit filling is. I'd just love more info so I can make sure this recipe is the best it can be!
Thanks,
Amanda
Regina Thomas says
Your recipe calls for the addition of milk, but you forgot to include how much. I estimated 1 cup of milk aged on portion/size. Please update re ipe to reflect portion of milk needed.
Thank you
Amanda says
Hi Regina! Thank you for catching this! It's 1/2 cup milk. So sorry for any confusion! Hope your cobbler was delish!