This post may contain affiliate links. This blog generates income via ads.

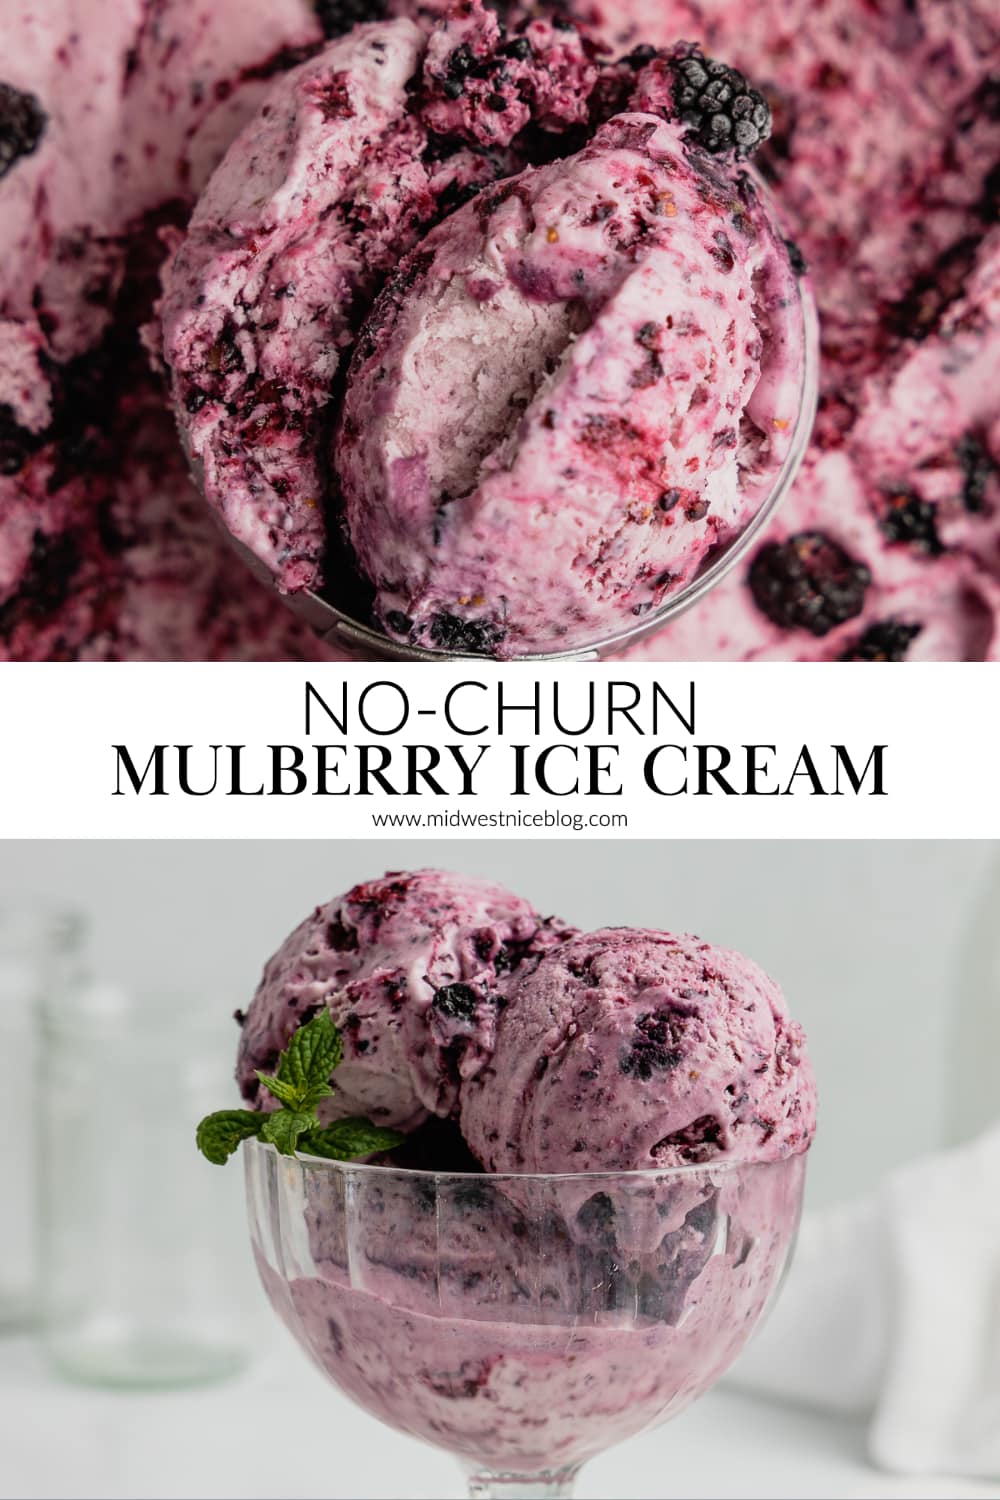
This No-Churn Mulberry Ice Cream is a great recipe to enjoy the bright flavor of sweet mulberries without an ice cream maker! Using only six ingredients this no-churn ice cream recipe is creamy, smooth, and loaded with mulberries! As a bonus, you can use either fresh or frozen mulberries in this delicious dessert recipe.

Tangy and sweet mulberries give a simple vanilla no-churn ice cream base a splash of color and flavor. Ready for the freezer in 20 minutes, it’s the perfect mulberry recipe to take advantage of those deeply purple berries that are the pinnacle of summer produce. Ready to make this decadent frozen treat? Let’s do it!

Ingredients for this recipe

How to make mulberry ice cream
This is just a very brief overview, detailed instructions can be found in the recipe card below!


Making Swirled Ice Cream
Here's how to get those gorgeous swirls of compote and whole berries throughout the ice cream so you get all kinds of berries in every bite!


Ways to serve mulberry ice cream
Obviously, I’m going to advocate for eating this straight out of the container with a spoon, but, of course, there are other ways to enjoy this delicious ice cream!

You can serve it on top of a simple mulberry cobbler or a slice of mulberry pie bars to get a double dose of berry goodness during dessert. Or serve it under a drizzle of mulberry compote!
It would also be great on a slice of warmed powdered sugar pound cake. Or, throw a few scoops of ice cream in a blender with a splash of milk to make a creamy, dreamy mulberry milkshake. Talk about delicious!

Storage Directions
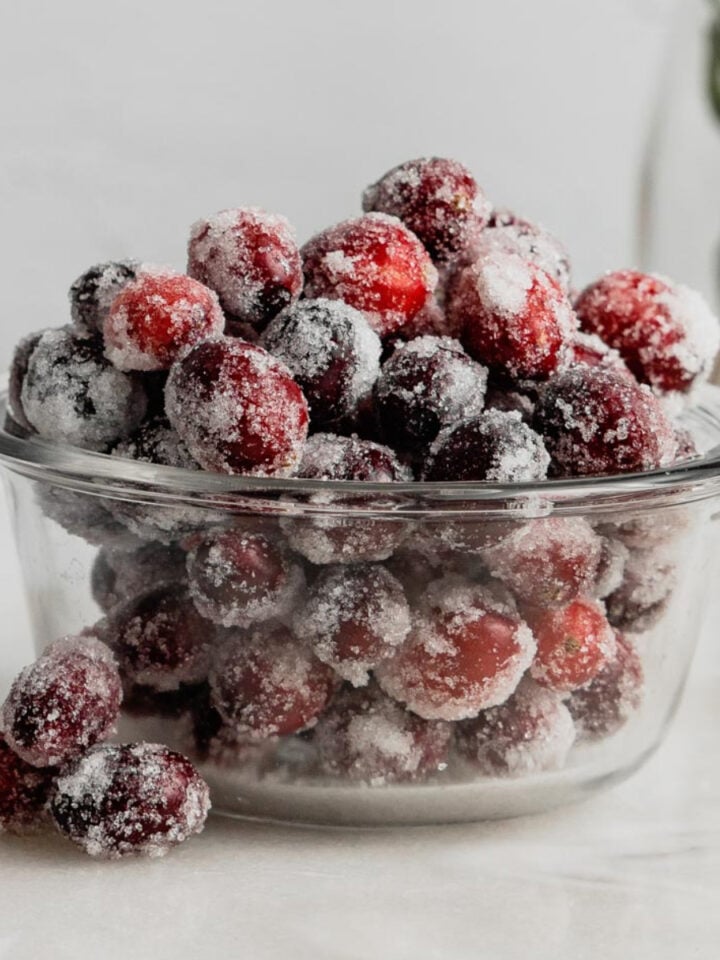
For the sake of beautiful photos, I like to make my no-churn ice creams in round cake pans lined with parchment paper (like my no-churn cranberry ice cream recipe). And it works like a dream!
This can make it difficult to store the ice cream after it’s been frozen and I’ve taken photos of it. To get around this, I like to cover the pan with foil for long-term storage.
Instead of a cake pan you can freeze and store the ice cream in a plastic food-safe container with a lid for up to one month.

That is, if it lasts that long!

No-Churn Mulberry Ice Cream
Equipment
- Whisk or Hand Mixer
- Mixing Bowls
- Round Cake Pan or Storage Container
- Parchment Paper
- Ice Cream Scoop
Ingredients
- 2 ½ cups (½ pound) mulberries, fresh or frozen
- ½ cup granulated sugar
- 1 tablespoon fresh lemon juice
- 2 cups heavy cream
- 12 ounces sweetened condensed milk
- 1 tsp. vanilla extract
Instructions
- Line an 8-inch round cake pan with a large piece of parchment paper and set aside. (The parchment paper fits in the pan easily if you crumple it up beforehand.)
- In a small saucepan, combine 2 cups of mulberries (reserving that extra ½ cup of berries), with ½ cup of granulated sugar, and 1 tablespoon of lemon juice. Stir to combine and cook, stirring occasionally, over medium heat for 15 minutes, or until berries have broken down and juices have reduced slightly.
- Carefully transfer the compote to a large jar and blend with an immersion blender. (Alternatively, you can blend the compote in a blender.) Set compote aside to cool, reserving ½ cup of the compote in the process.
- In a large mixing bowl, whip 2 cups of cold heavy cream to medium-stiff peaks. This can be done with a whisk, hand mixer, or stand mixer. Set whipped cream in the fridge while you continue with the recipe.
- Next, in a large mixing bowl, whisk together 12 ounces sweetened condensed milk, 1 teaspoon vanilla extract, and all of the blended compote, saved for the ½ cup you reserved earlier. Mix until well combined.
- Gently fold the heavy cream into the flavored ice cream base, being sure not to mix too aggressively to avoid losing the light, airy consistency.
- Pour ½ of the ice cream into the prepared pan, and drizzle half of the reserved compote over the top as well as half of the reserved berries. Gently swirl the compote and whole berries into the ice cream.
- Top with the remaining ice cream, followed by the rest of the compote and whole berries, again swirling to combine everything. This is how we get beautiful layers of ice cream, compote, and bits of berries all throughout!
- Place ice cream in the freezer until solid, at least four hours, or overnight.
- Remove ice cream from freezer 5 minutes before serving to make for easier scooping!
Notes
- Alternatively, ice cream can be assembled and frozen in a plastic Tupperware container with a lid for easy storage.
- Leftover ice cream can be kept in freezer, covered, for up to one month.
Nutrition

JaMera says
I made this last Wednesday randomly, since I had a few bags of frozen mulberries in my freezer. It came out so good and it was eaten up within days!
Amanda Gajdosik says
JaMera,
Oh this is thrilling to hear! So happy you enjoyed it 🙂
Amanda