This post may contain affiliate links. This blog generates income via ads.

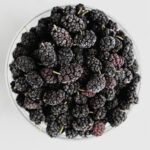
When you know how to freeze mulberries, you’ll be able to enjoy the sweetness of this summer berry year-round! Follow these simple steps to ensure you properly harvest and store your fresh mulberries to enjoy them in your favorite dessert recipes any time of year.

Mulberry season comes around every year at the end of June and into the early weeks of July. It’s a quick season here in Wisconsin and when our trees are laden with the small, purple berries I have to take full advantage of it! Read on to find all my tips and tricks for storing fresh mulberries!

To prevent wasting the abundance of fresh mulberries available to me, I freeze whatever fruit I don’t immediately use and store until the craving for a simple mulberry compote, crumb cake, or delicious mulberry cobbler strikes me.
What you’ll need for mulberry picking and storage
- Berry Basket – Or any small container to put your berries into once picked. Preferably something with a handle to make it easier to carry.
- Paper Towel – To line the basket for extra cushion and to dry the rinsed berries.
- Sheet – Or a tarp. Something you can cover an expanse of the ground below the tree branches with to catch the berries.
- Large Bowl – One large enough to fit in your sink and hold all the berries you pick.
- Cool Water – To rinse the berries, obviously.
- White Vinegar – Optional, but for me a total necessity when cleaning mulberries.
- Strainer – Make sure the holes are small enough that the berries won’t fall through.
- Rimmed Baking Sheet – A rimmed baking sheet means the berries won’t roll off when you put them in the freezer.
- Freeze-safe Plastic Bags – To store the berries once frozen.
- Tape and Permanent Marker – To label the bag with the contents, weight, and date.

How to Pick Mulberries
It’s hard to believe that before I met my husband, I had never picked or eaten a fresh mulberry. Now it’s one of the parts of summer I look forward to most! And not just because it means mulberry pie bars are going to be eaten!
Mulberries are ready to pick when they are deeply purple, tender, and sweet. They are incredibly juicy with a taste that is similar to a blackberry, but more concentrated as they are smaller.

Mulberries are an incredibly delicate berry and come off the trees with little to no effort when they are ready. Here's how we quickly gather them:
- We spread an old sheet out below the tree branches and give them firm, short shakes. The ripe berries cascade right off the branches and land on the sheet.
- We give the sheet a quick once-over, discarding any sticks, leaves, or other trash, and carefully transfer the berries to our lined baskets.


Using the sheet method of picking mulberries means we can fill a basket in under an hour! We used to pick them by hand and that took ages.
Using an old sheet or tarp and shaking the branches is so much quicker! You won’t be sorry!
How to tell when mulberries are ripe
In the picture below you can see the different stages of mulberry ripeness. The berries start out green, before adapting a red hue and transforming into a small, deeply purple berry.

You will also see from this photo that my hands are stained. Mulberries are incredibly juicy, and the skin is so delicate that you’ll likely break a few berries and get the juice on your hands.
It washes off easily, but it can stain clothing. It’s best to wear clothes you don’t mind getting dirty when picking mulberries!

I like to make sure my basket or bucket is lined with paper towel to help provide extra cushion for the fruit and soak up any juice that may result from squishing.
Cleaning Fresh Mulberries
Now that we’ve picked our berries, it’s time to clean them up before we freeze them! Here’s how I do it:
- Gently transfer the berries to a large bowl. Discard any that have been squished and rid the fruit of any large pieces of debris. Also, watch out for bugs!
- Fill the bowl with cool water. Enough to submerge and cover the berries. Add a generous splash of white vinegar.
- Gently “swish” the berries around. This will help knock dirt, debris, and bugs loose.
- Drain and rinse. Carefully transfer the berries to a strainer and give a good rinse. Allow the excess water to drain for a few minutes before continuing.


Be on the lookout for bugs
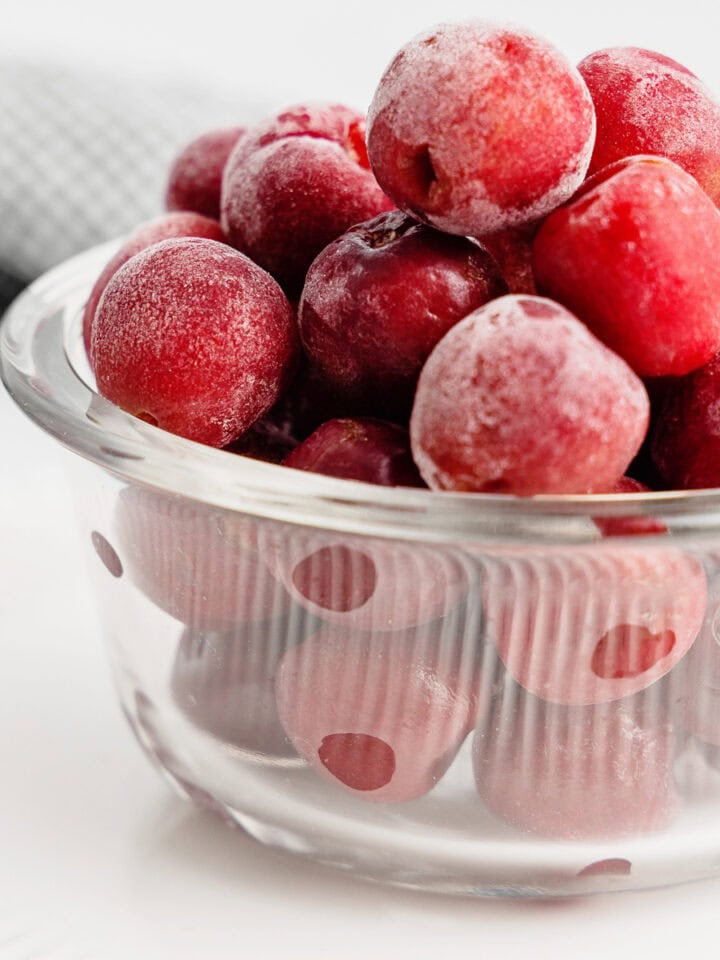
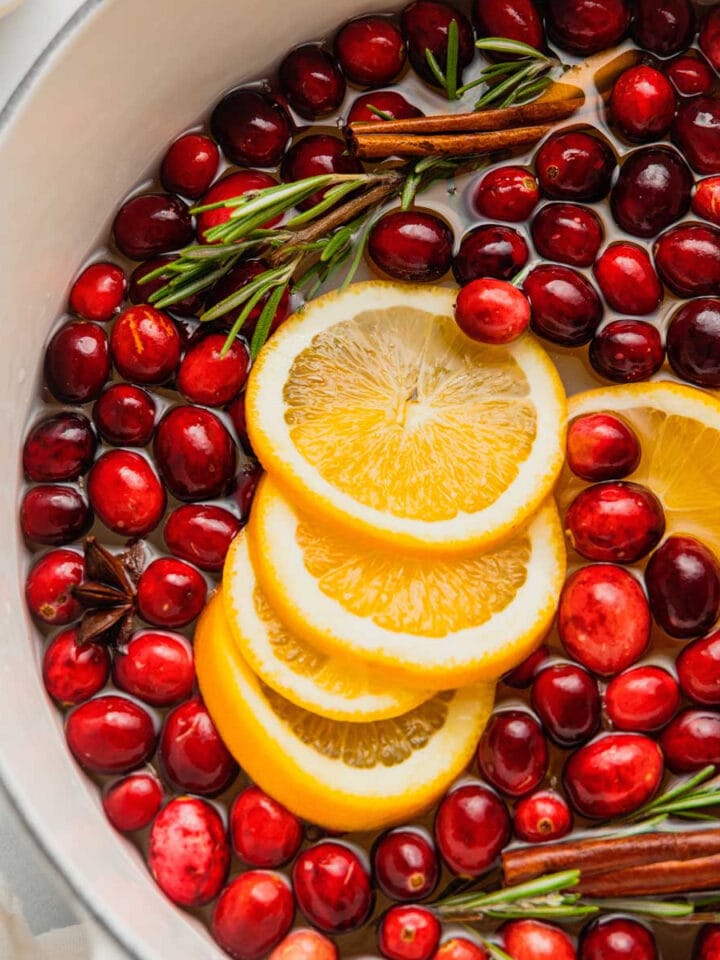
Unlike when I’m freezing cranberries or freezing fresh rhubarb, I do a double rinse for mulberries instead of a single rinse.

While the berries aren’t exactly “dirty” with soil, they tend to be buggy. Spiders and gnats and all sorts of little pests love mulberries and like to hang out on the trees and in the berries.

This is also why I add a splash of vinegar to the water when rinsing. It will help to clean and disinfect the berries, getting rid of bacteria and bugs. You can see in the photo above all of the debris left behind from the first rinse.
Freezing Fresh Mulberries
Once the mulberries are cleaned and drained, spread them out onto a paper towel-lined rimmed baking sheet. The paper-towel will absorb any excess water and the rimmed baking sheet will ensure no berries roll off.

I prefer to use paper towels for fresh mulberries as they tend to bleed juice and can stain fabric towels. Of course, you can use a regular dish towel during this process, too, if you’d prefer.
If your mulberries are particularly wet, or if they haven’t had time to properly drain, you may want to do this process twice, discarding the soaked paper towels and replacing them with a dry layer, if necessary.
It’s important to use a baking sheet that is big enough so all the berries can lay in a single layer and aren’t touching too much. This will ensure even freezing and help prevent sticking.
Flash Freezing Fresh Produce
A process called flash freezing will also ensure the mulberries don’t freeze together in one large clump.
This is a method of freezing the whole fresh fruit or vegetable in a single layer on a baking tray (that is lined with paper towel or a towel to prevent it sticking to the tray) until the produce is completely frozen. This takes around 4 hours but can be done overnight.
If you don’t flash freeze fresh produce and instead just throw it all in a freezer bag from the get-go, it will freeze in a giant clump and make it very difficult to use moving forward.

Storing Frozen Mulberries
Once the flash freezing is complete and the mulberries are frozen solid, transfer the frozen fruit to a freezer-safe zip-top bag. Label with the contents of the bag, the amount or weight of the item, and the date it is being frozen.

A properly labeled bag ensures that no mystery items wind up at the back of the freezer and that you know exactly how much you’re using and when it was initially stored.
These frozen berries can be stored for up to one year and can be used as you would fresh mulberries in so many recipes! From ice cream to muffins to simple syrup and beyond!

Now that should make you “berry” happy!
How to Freeze Fresh Mulberries
Equipment
- Large Bowl
- Colander or Fine Mesh Strainer
- Paper Towel
- Rimmed Baking Sheet
- Freezer-safe Plastic Bags
- Tape
- Sharpie or Pen
Ingredients
- 2 pounds fresh mulberries (or more, of course!)
- 8 cups cool water (or as much as needed)
- 2 cups white vinegar
Instructions
- Begin by gently placing the mulberries into a large bowl set in your sink. Fill the bowl with enough cool water to completely cover the berries (they’ll float a bit, but that’s ok). Add 2 cups of white vinegar to the berries and gently “swish” them around to ensure bugs and debris are knocked loose.
- Carefully transfer mulberries to a colander and thoroughly rinse with cool water. Take care to be very gentle with the berries as they are very delicate.
- After rinsing, allow berries to drain excess water for a few minutes.
- Pour the rinsed and drained mulberries onto a rimmed baking sheet that has been lined with paper towels. If the berries are holding a lot of water, you may want to do this process twice, discarding the soaked paper towels and replacing with dry ones, if desired.
- Ensure the mulberries are in an even, single layer and place the baking sheet flat in the freezer for at least four hours, or overnight, or until the berries have frozen solid. This is a process referred to as flash freezing.
- Transfer the flash-frozen berries to a freezer-safe zip-top bag, labeling it with the contents, weight, and date of storage.
Notes
- Frozen mulberries can be kept for up to one year and can be used just as fresh mulberries in most recipes!
Danielle says
This is so very exciting. I just discovered I had a Mulberry tree on my property and I’ve already picked some. It was my first time having mulberries and they are so delicious. I can’t wait to use the sheet method to get more and freeze them so I can make all kinds of things thank you for this post!
Amanda Gajdosik says
Hi Danielle!
Oh what a gift to have a mulberry tree at home! Be sure to check out my collection of mulberry recipes for inspiration for things to make! 🙂
Amanda