

This post may contain affiliate links. This blog generates income via ads.

Bursting with berry goodness these Mulberry Pie Bars are the perfect ratio of buttery, flaky crust to delectable fruit filling. Best of all? The components of this perfect pie recipe can be prepped a day or two in advance before being assembled and baked when ready to enjoy. That’s pretty sweet!
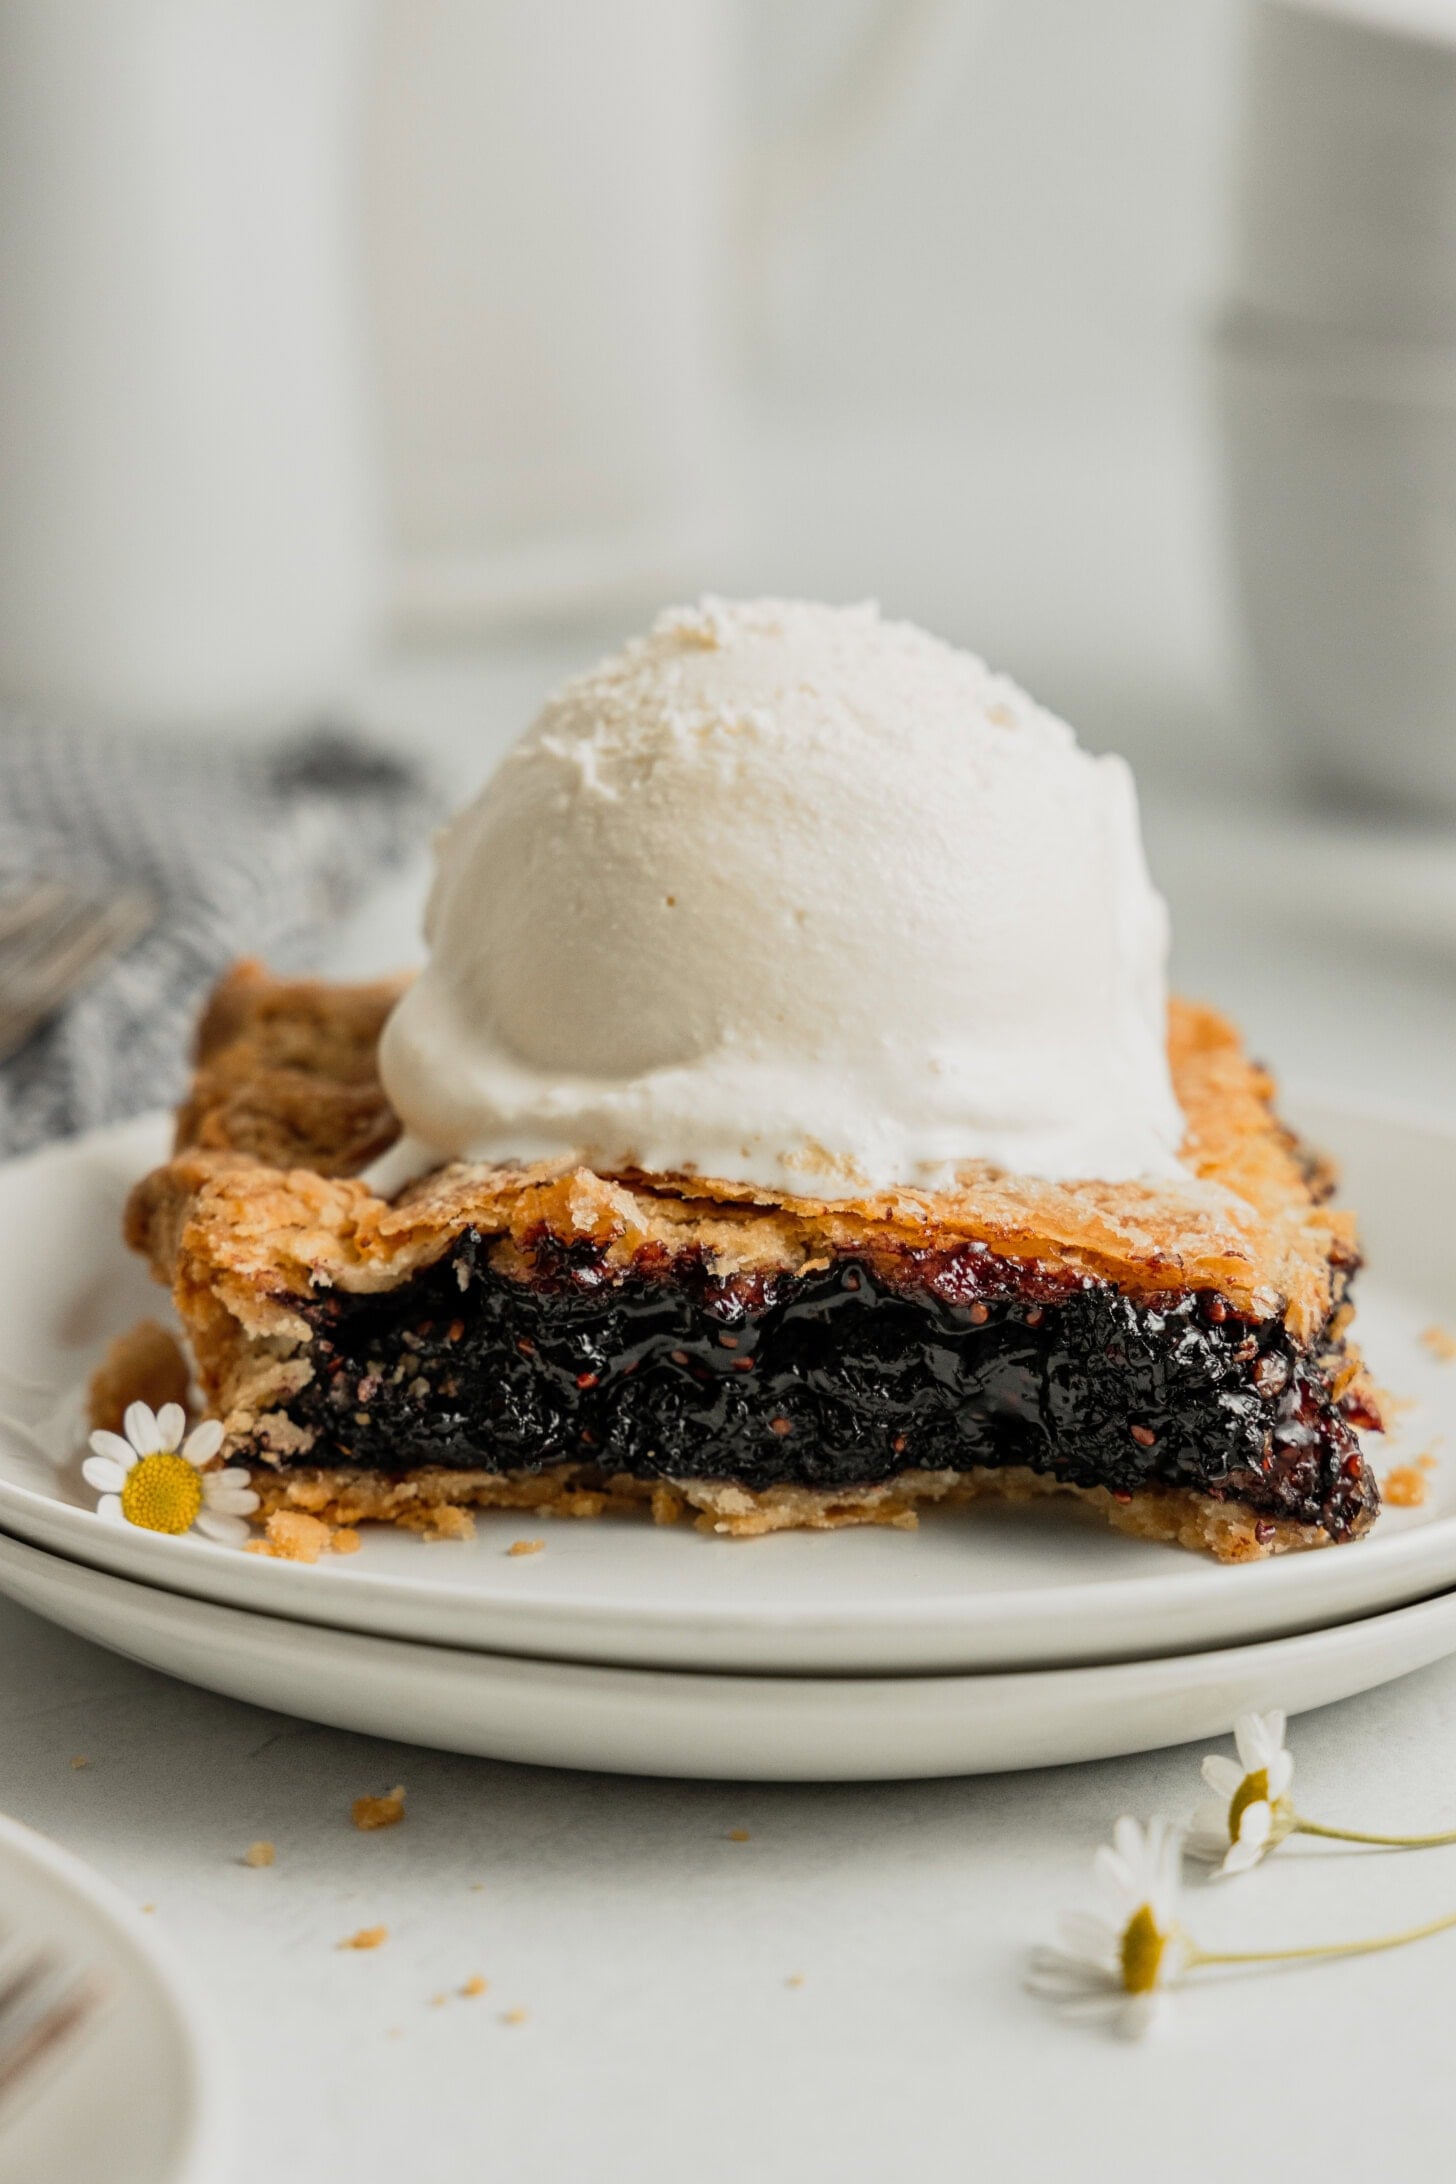
As someone whose favorite part of pie is the buttery and flaky crust, this mulberry slab pie is a dream come true! The crust is fork-tender, and because it’s baked in a jellyroll pan there’s plenty of those tasty, crimped edges to go around. The filling is what dreams are made of – sweet, studded with berries, and thick enough to stay put even after slicing.
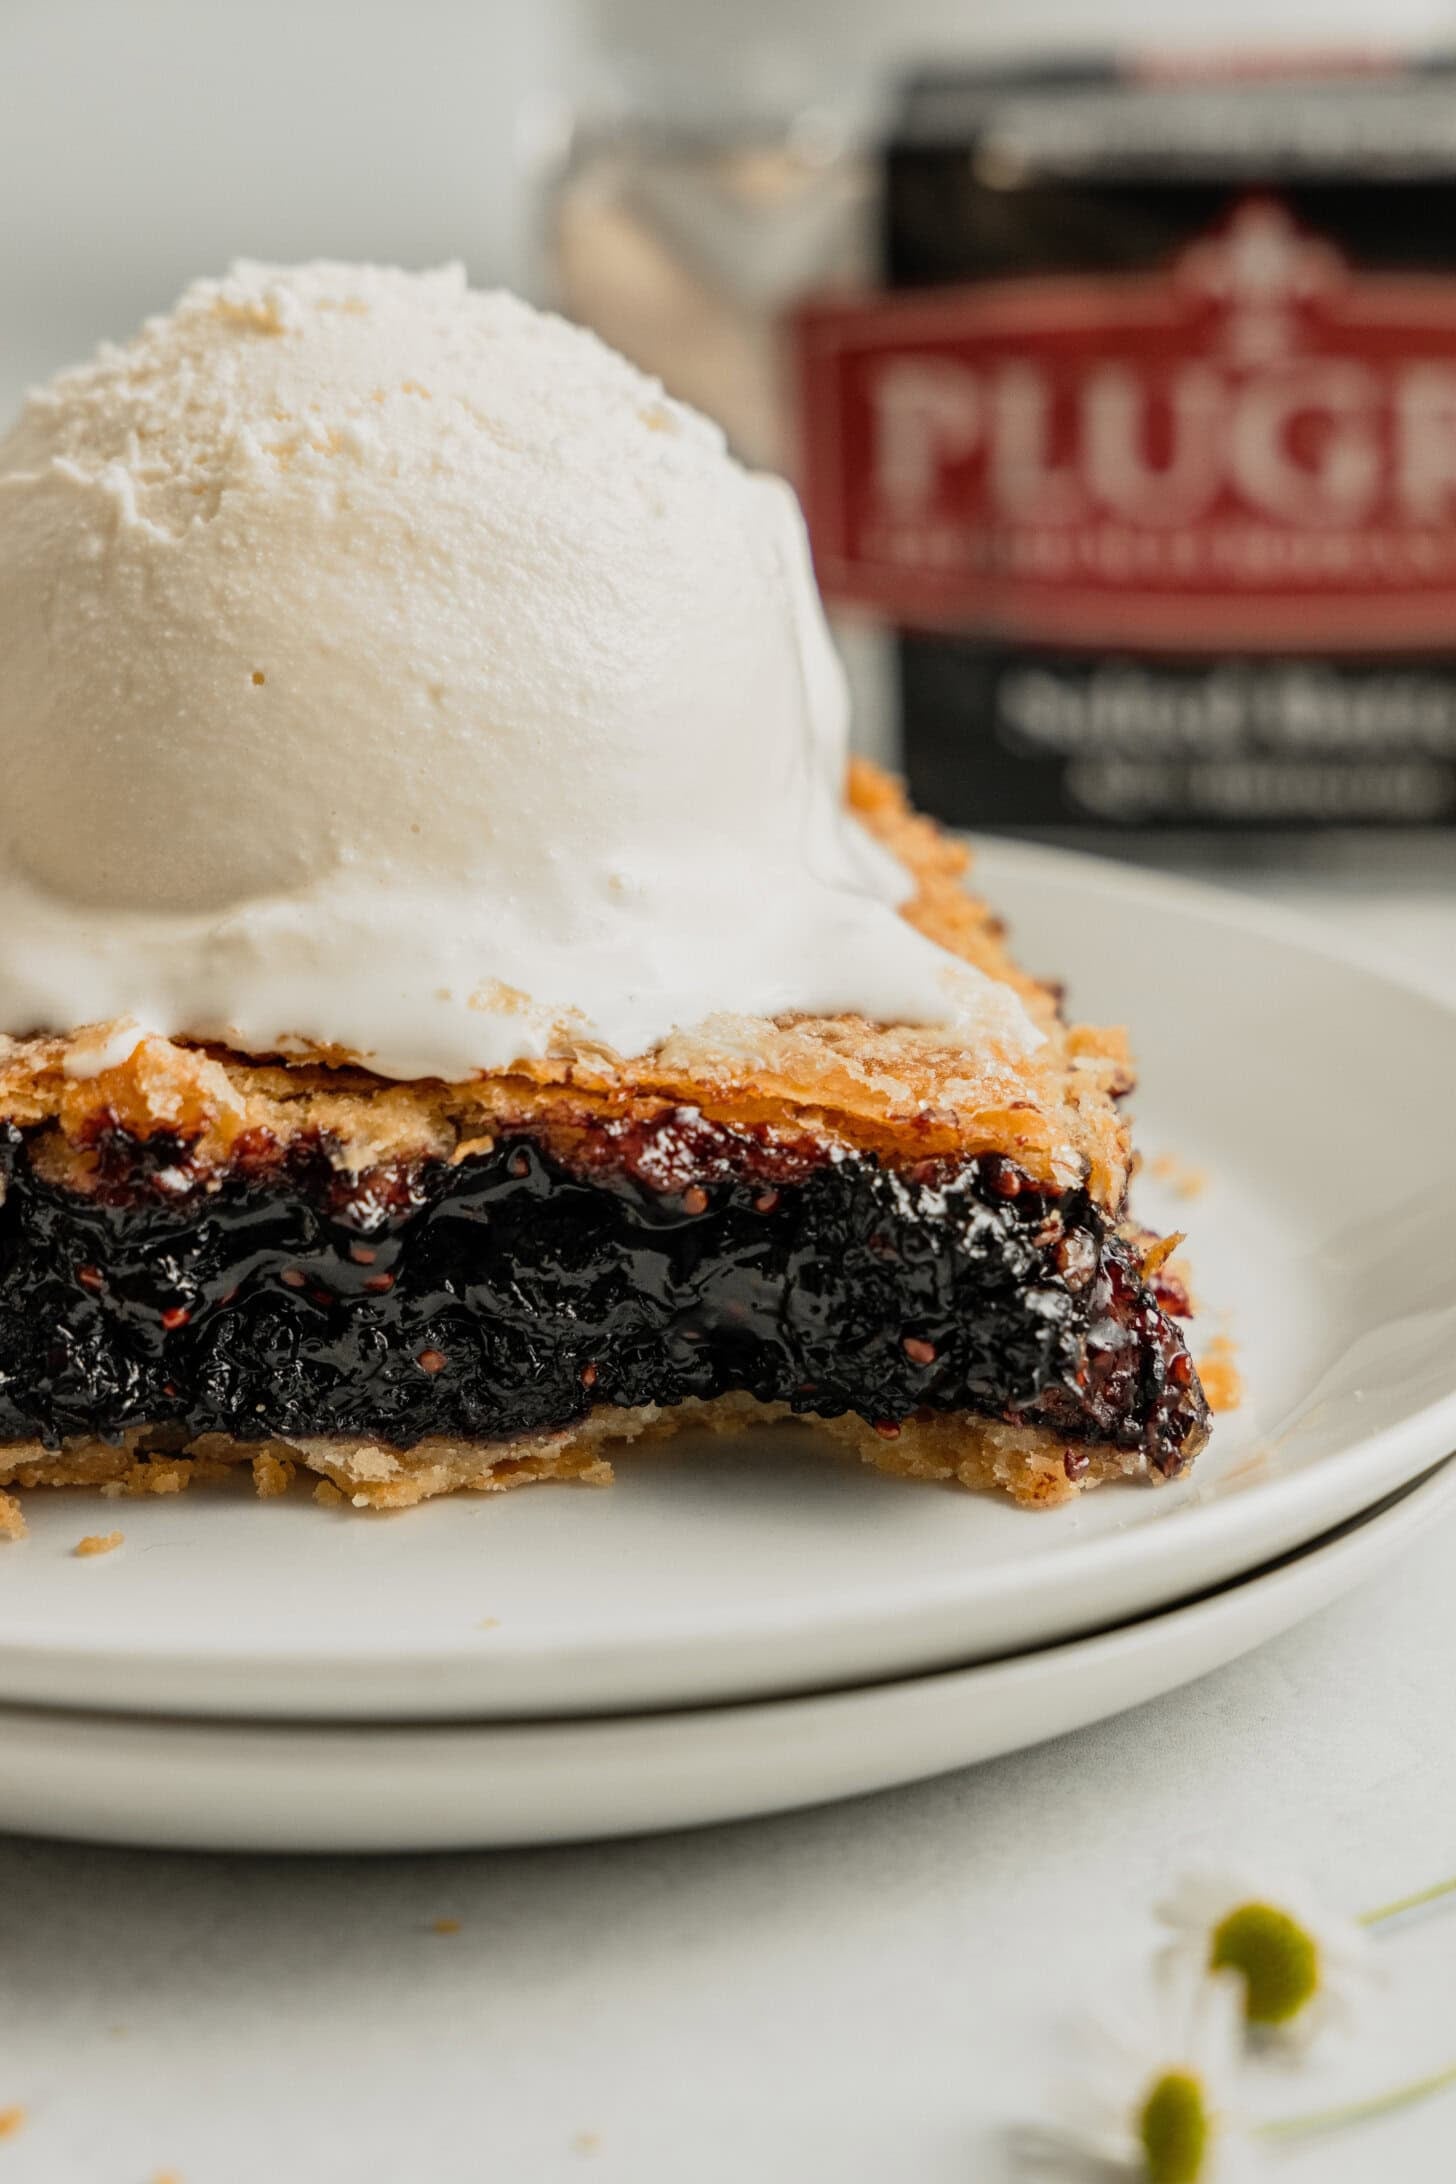
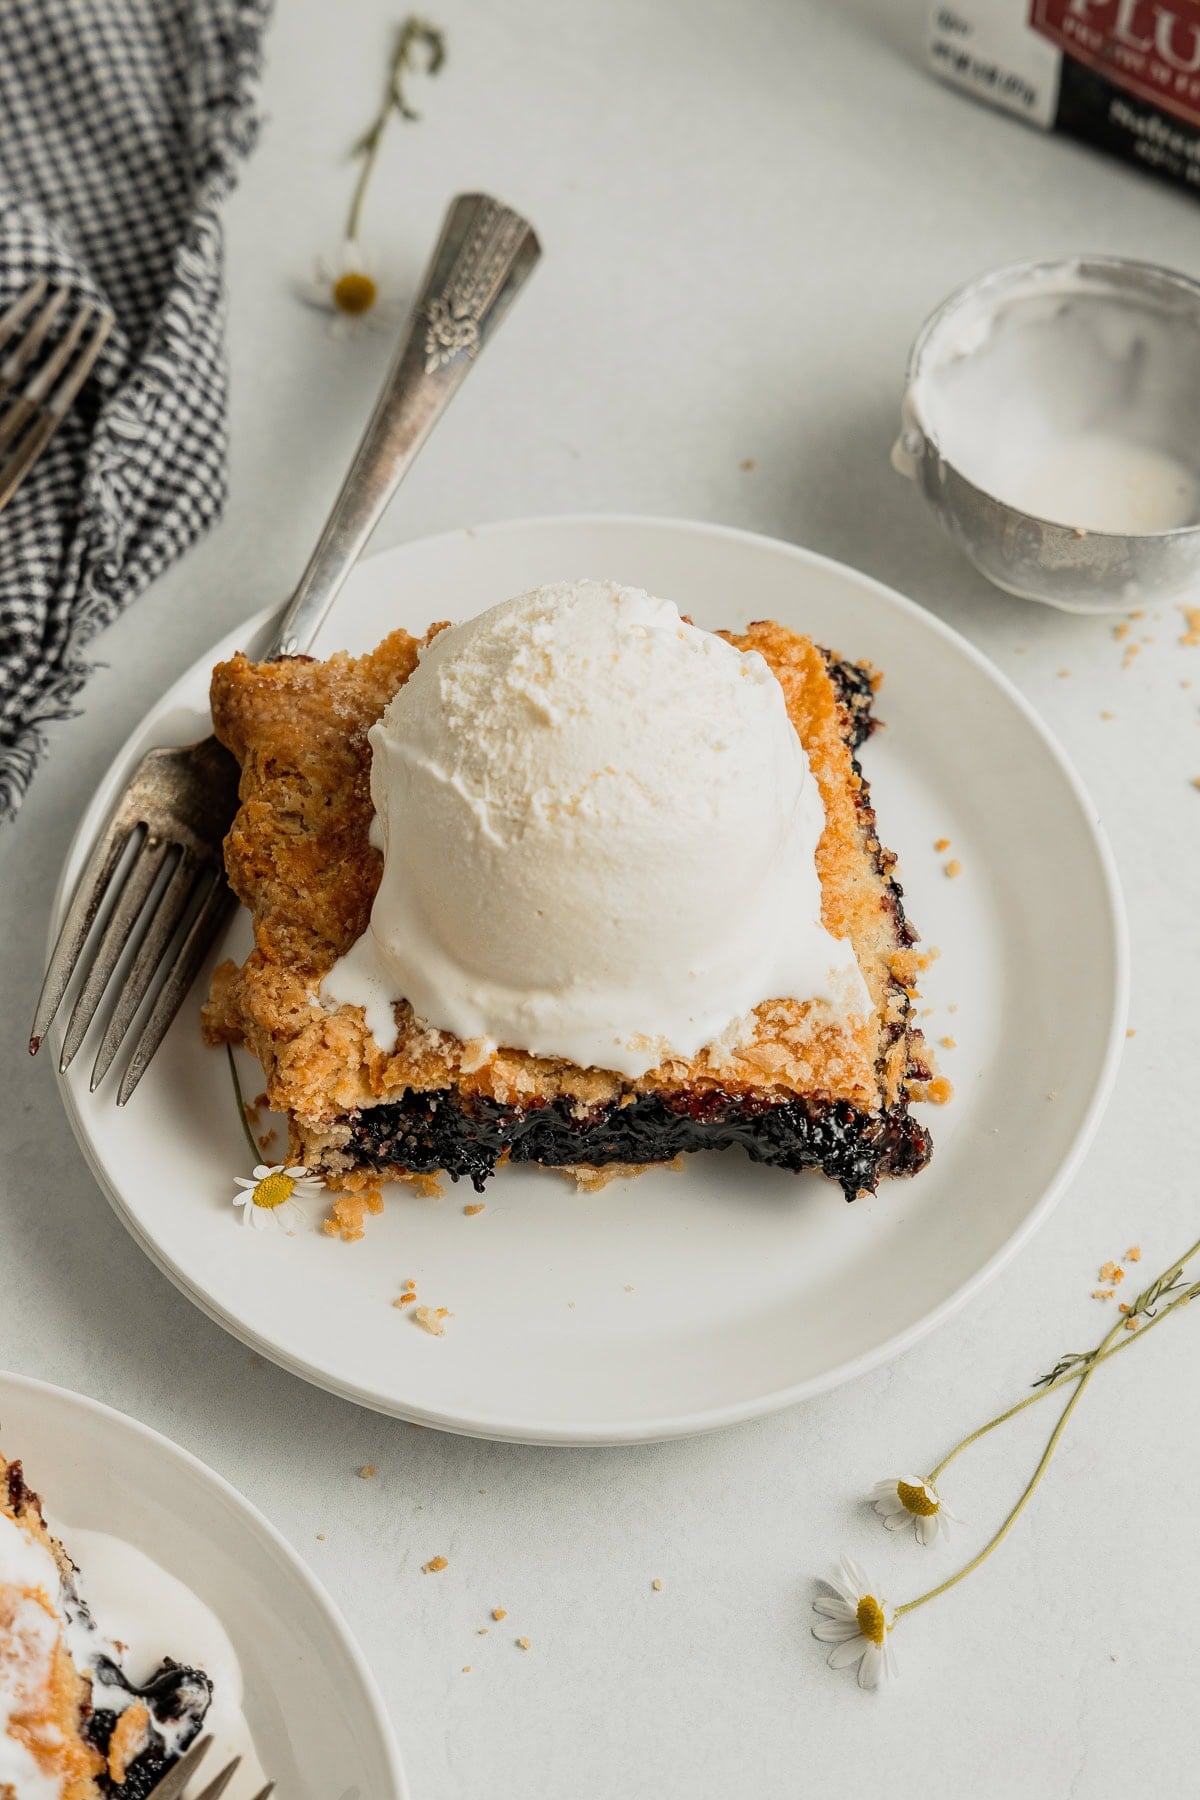
This is the best mulberry pie around. And not just because it can be prepped in advance! But, that does help.
This post was sponsored by Plugrà Premium European Style Butter. Thank you for continuing to support the brands we love at Midwest Nice!
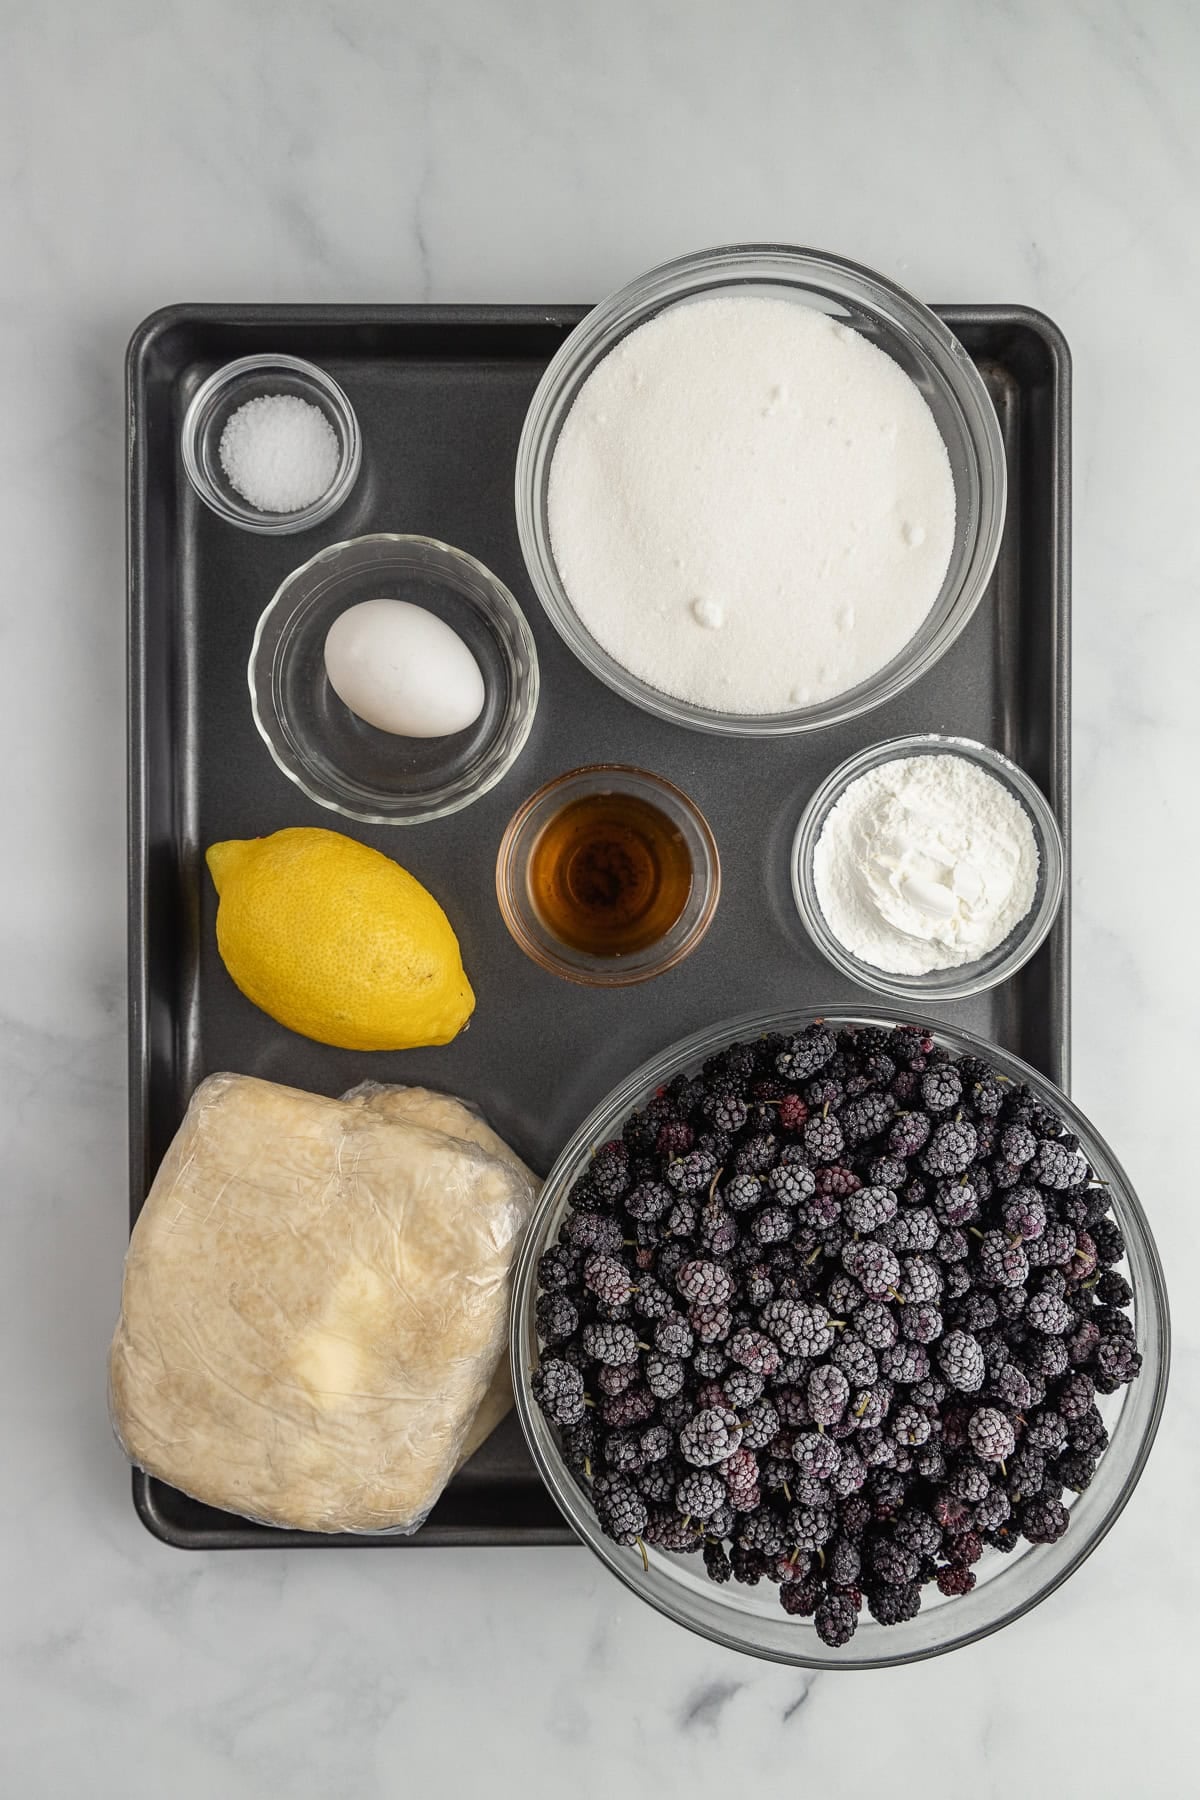
Ingredients You’ll Need
Better Butter Matters
The crust has always been my favorite part of pies. The filling is kind of secondary for me. It’s why I adore my Grandma’s Apple Slices and why I developed this recipe to be a slab pie. The more crust, the merrier in my opinion!
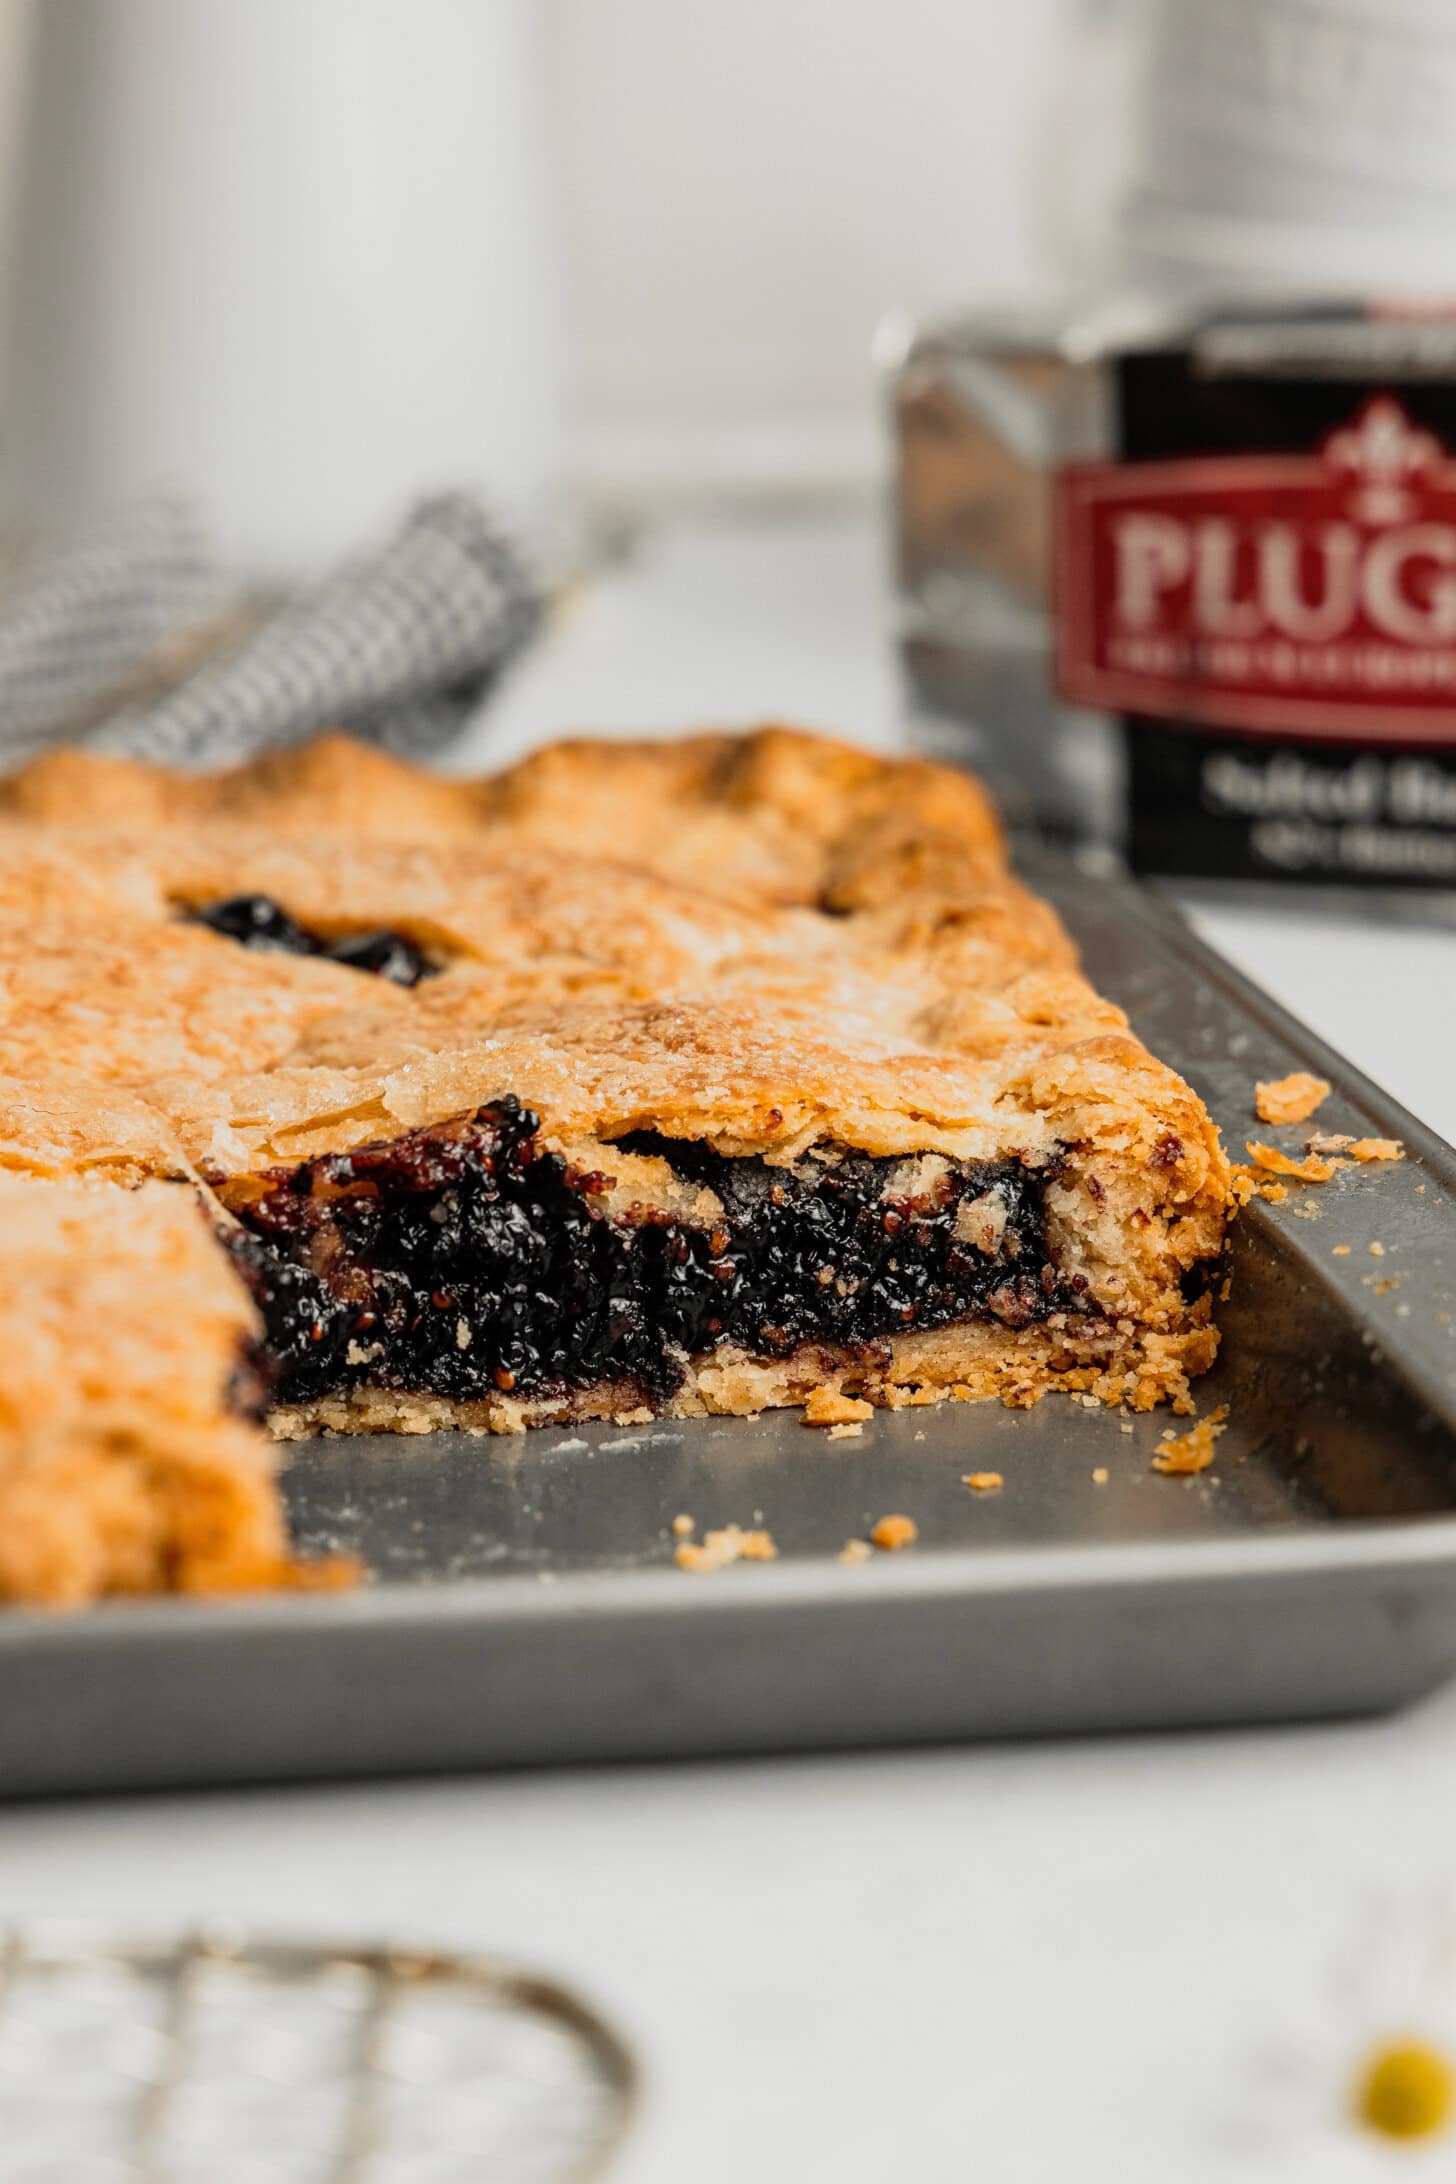
If I want the best crust for my pies, that means I have to use the best butter. And that is undoubtedly Plugrà European Style Butter!
Plugrà has an 82% fat content, which is higher than traditional American-style butters. That extra butter fat is going to help in hydrating our dough, so we get a perfectly flaky (not mealy!) crust.
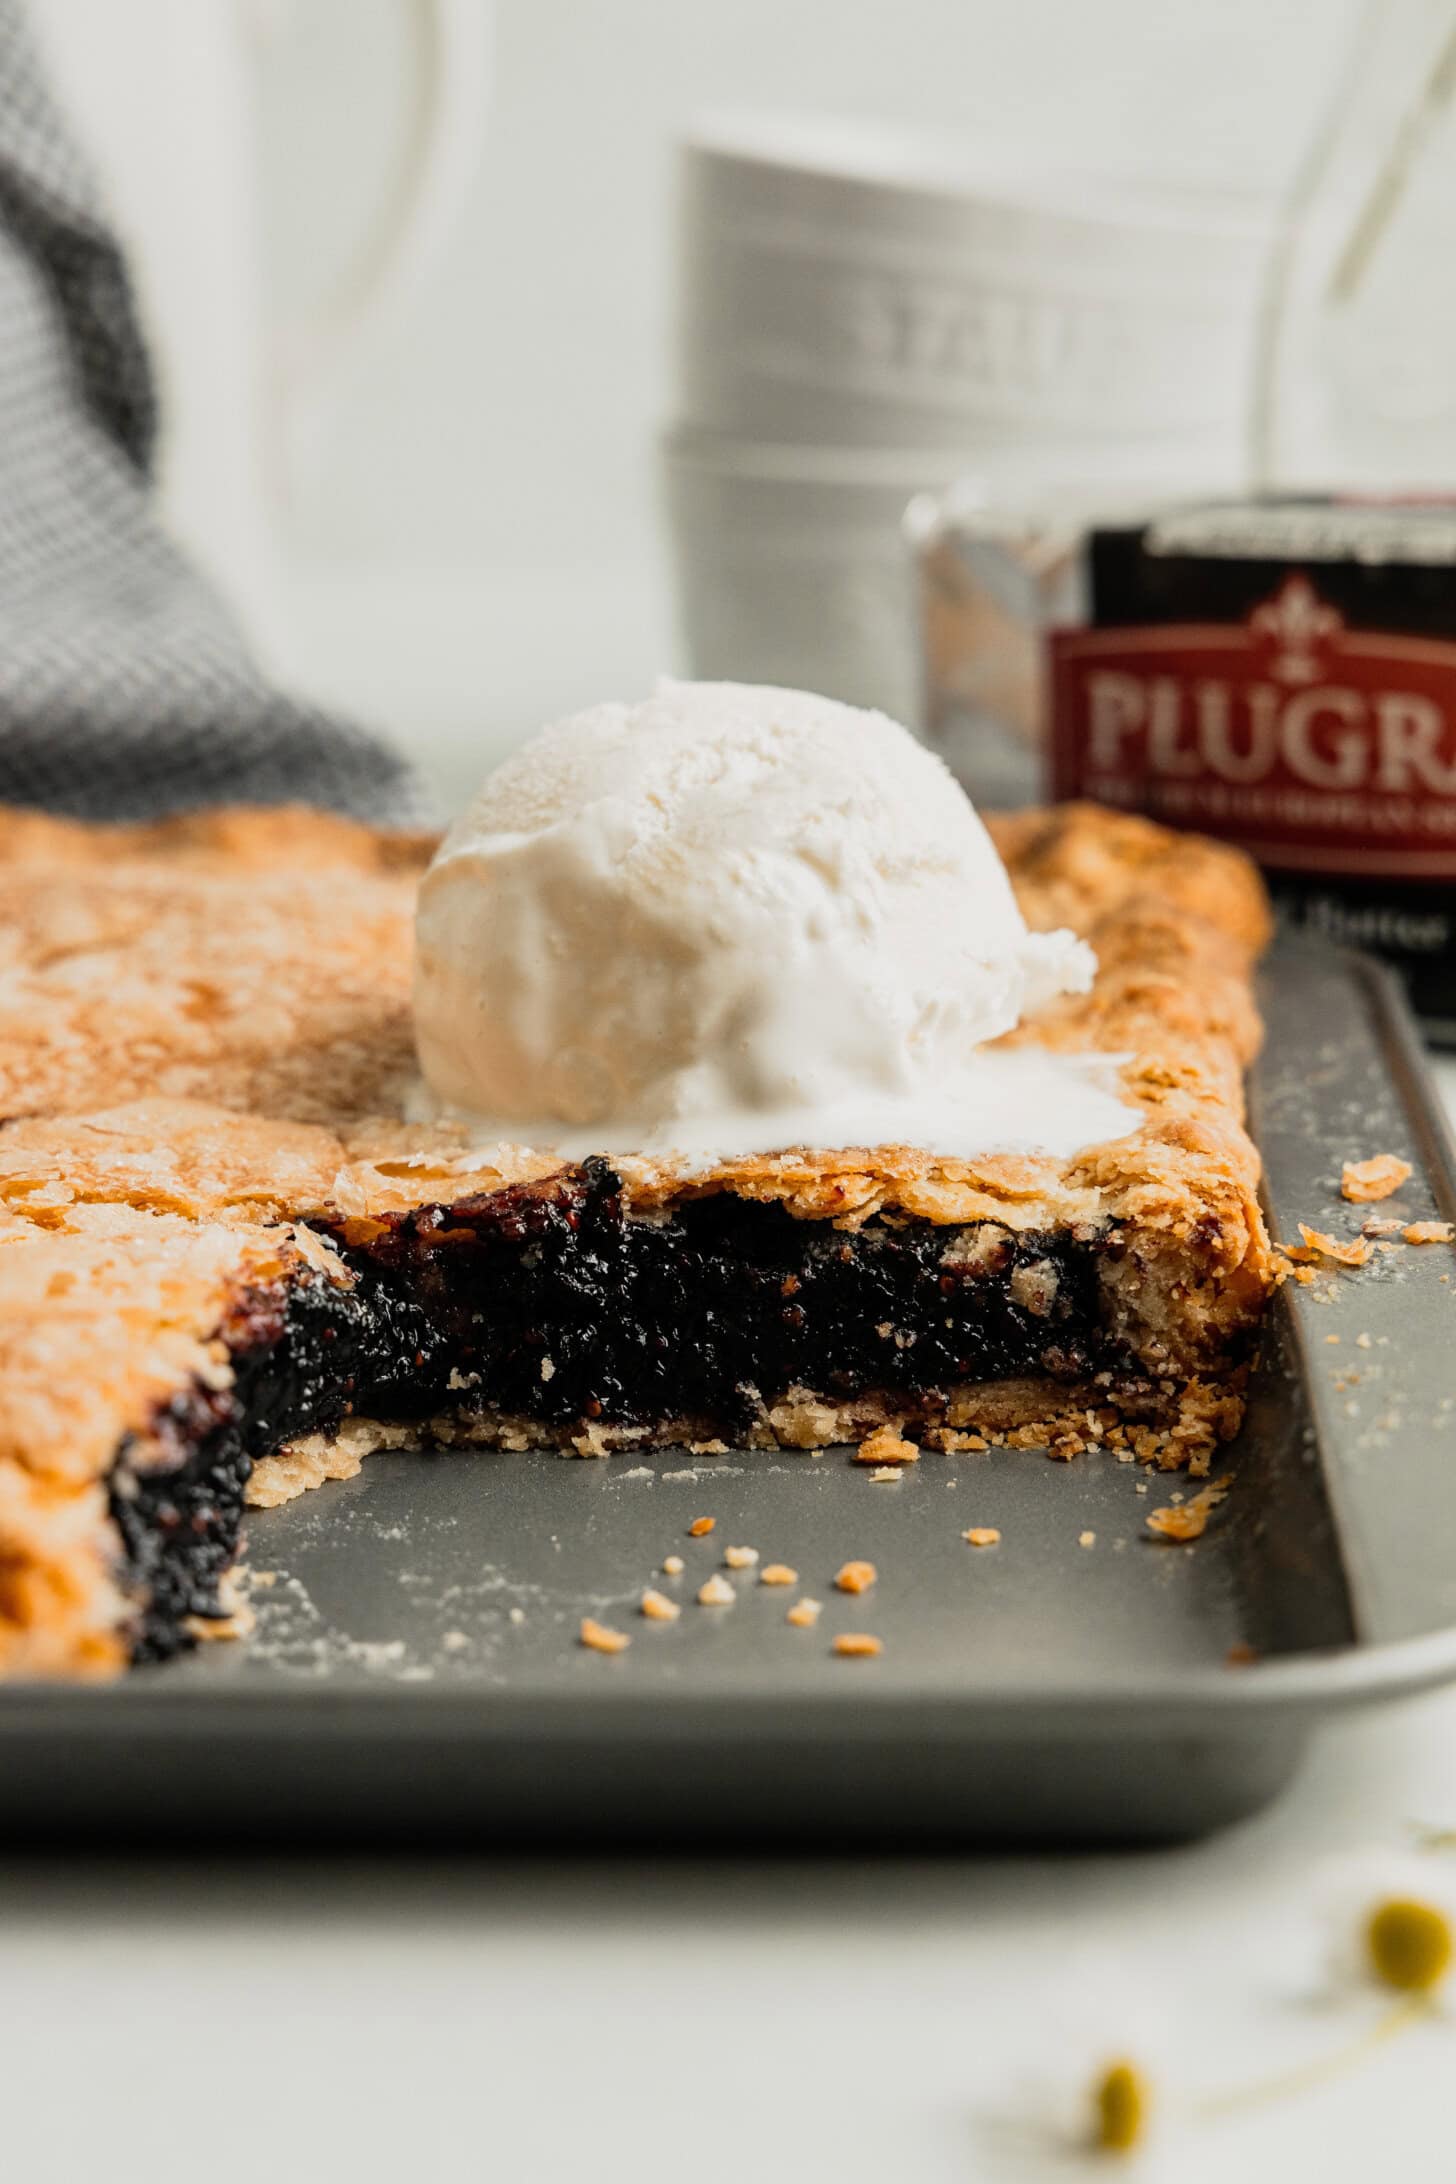
Making Mulberry Pie Bars in a Buttery, Flaky Crust
This is just a brief overview, find detailed instructions in the recipe card below!
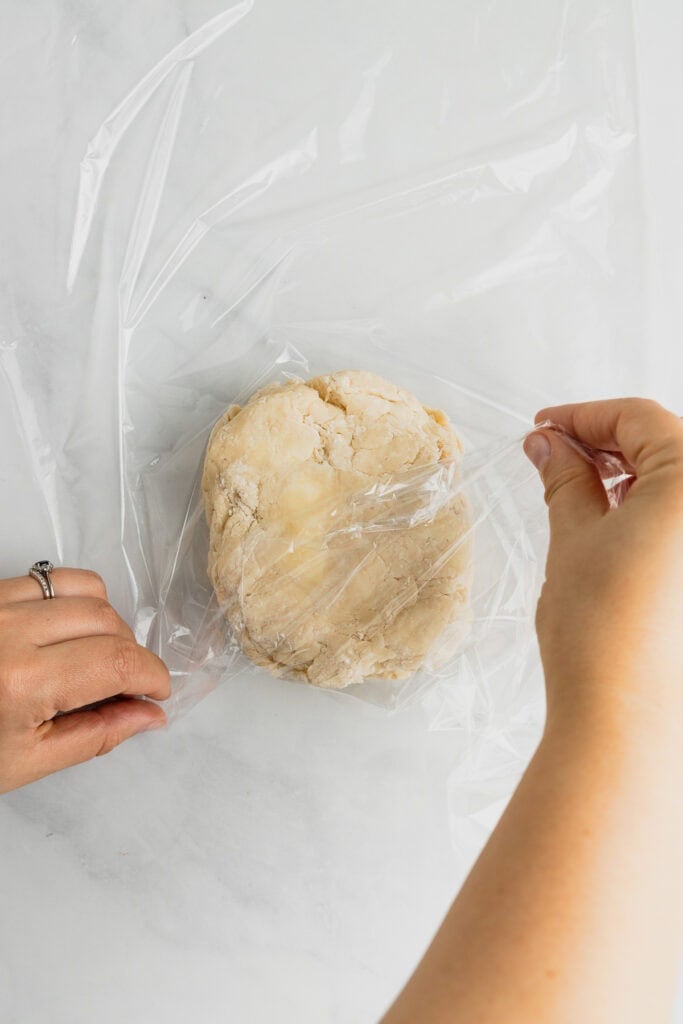
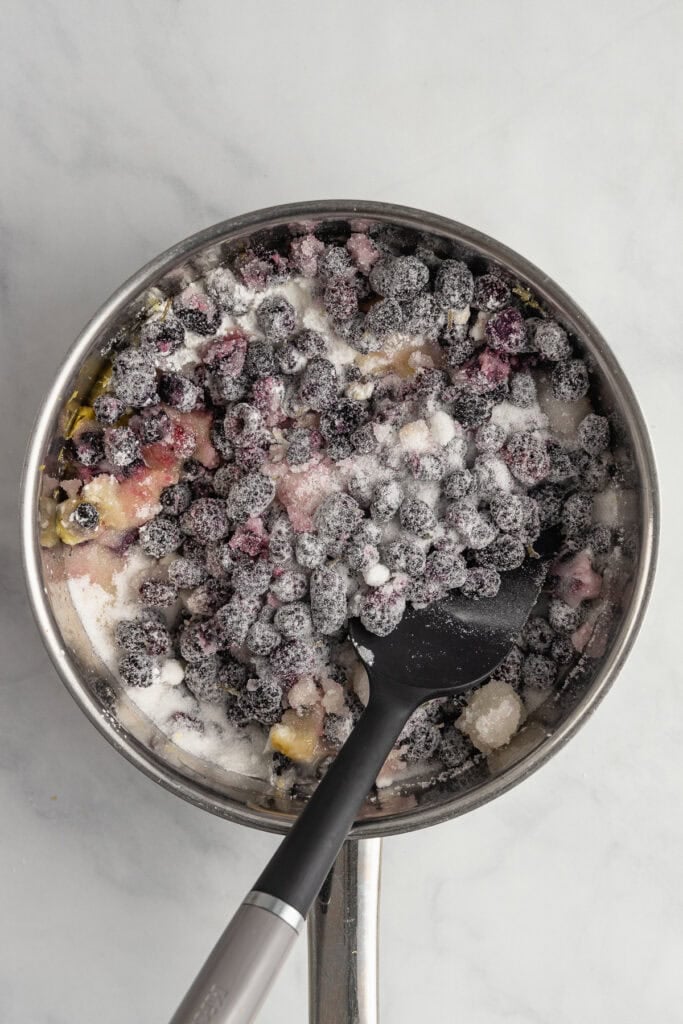
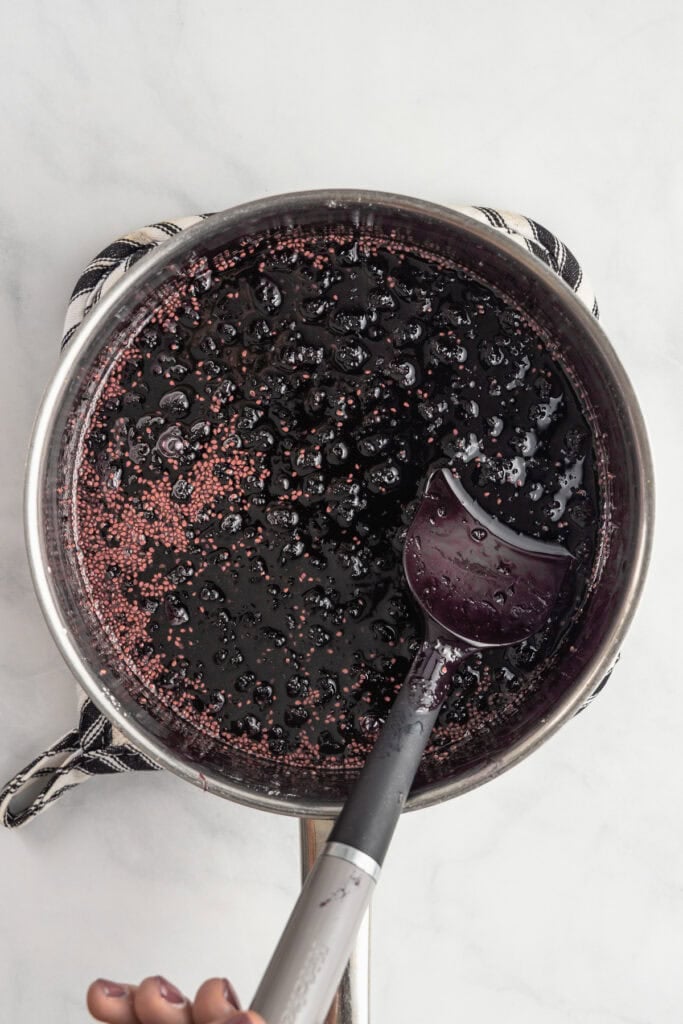
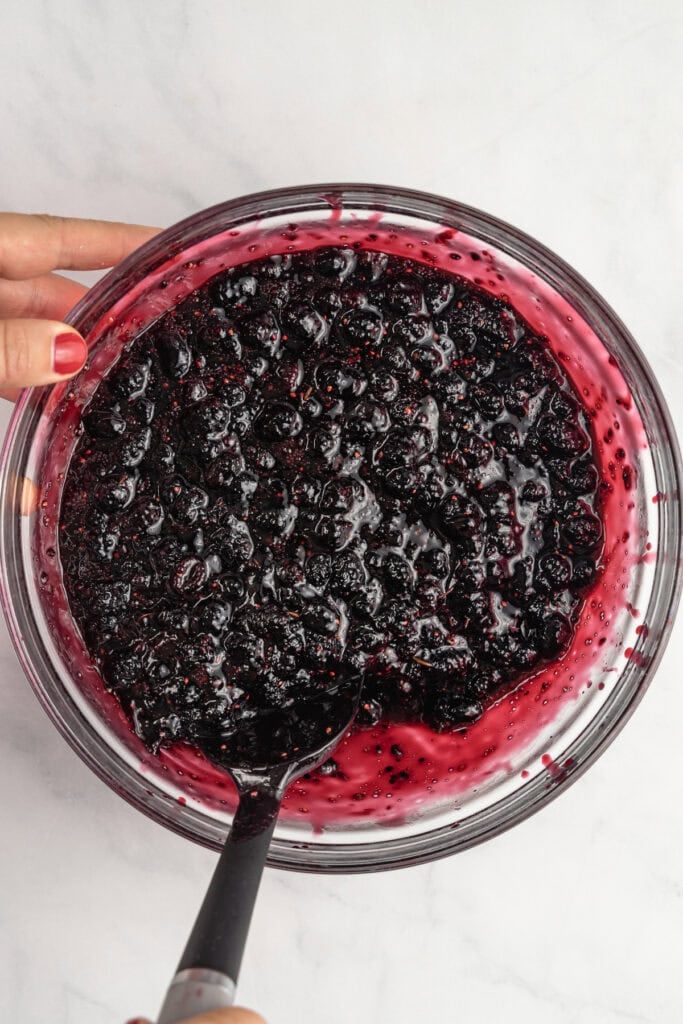
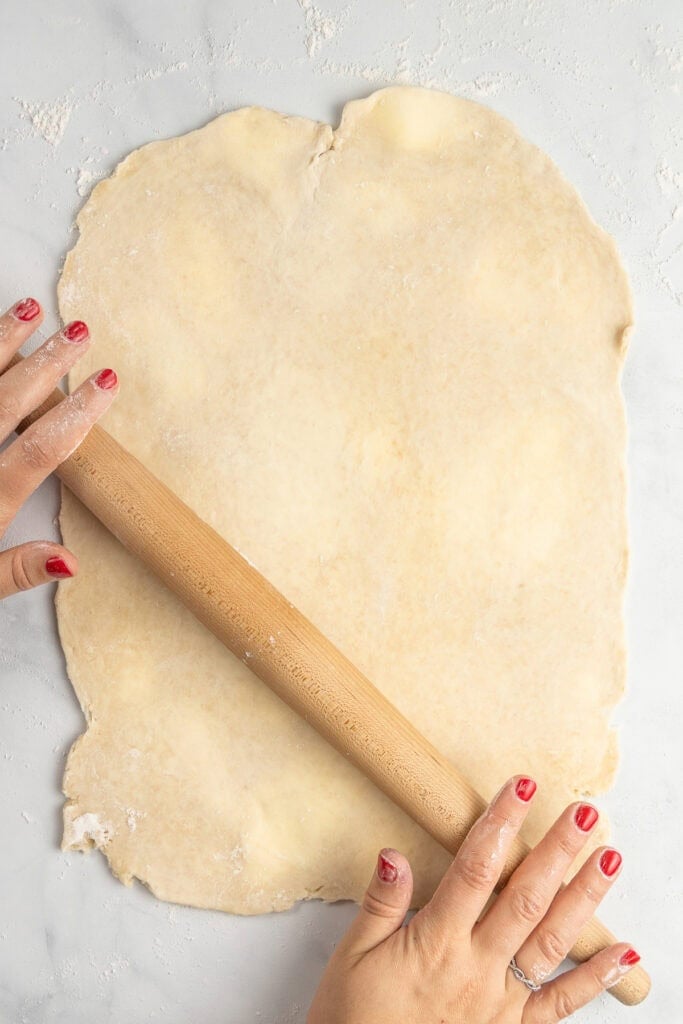
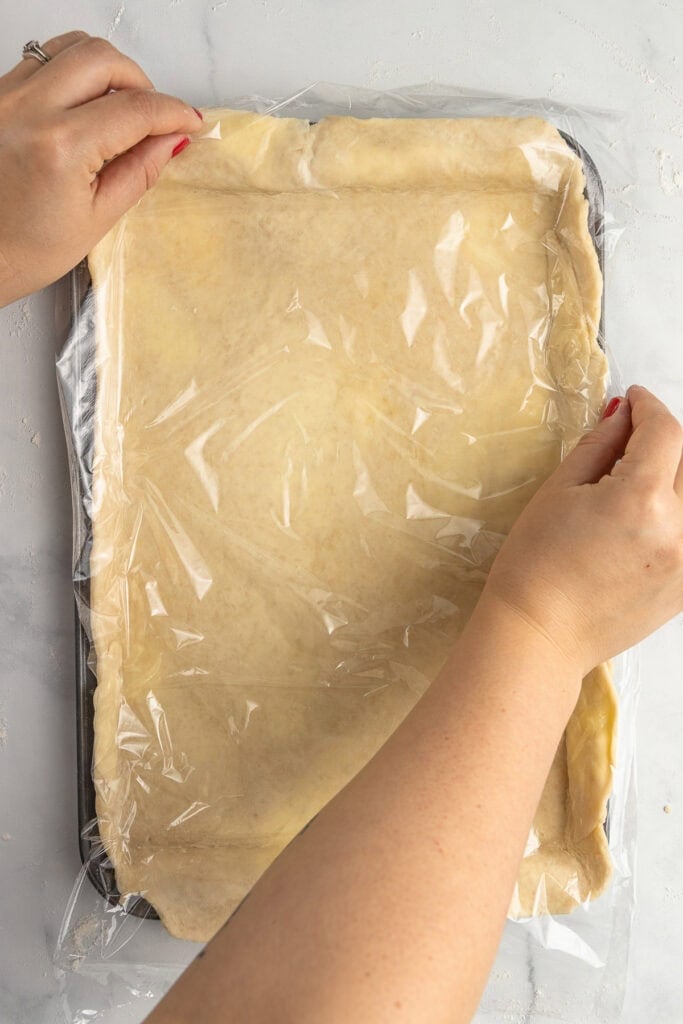
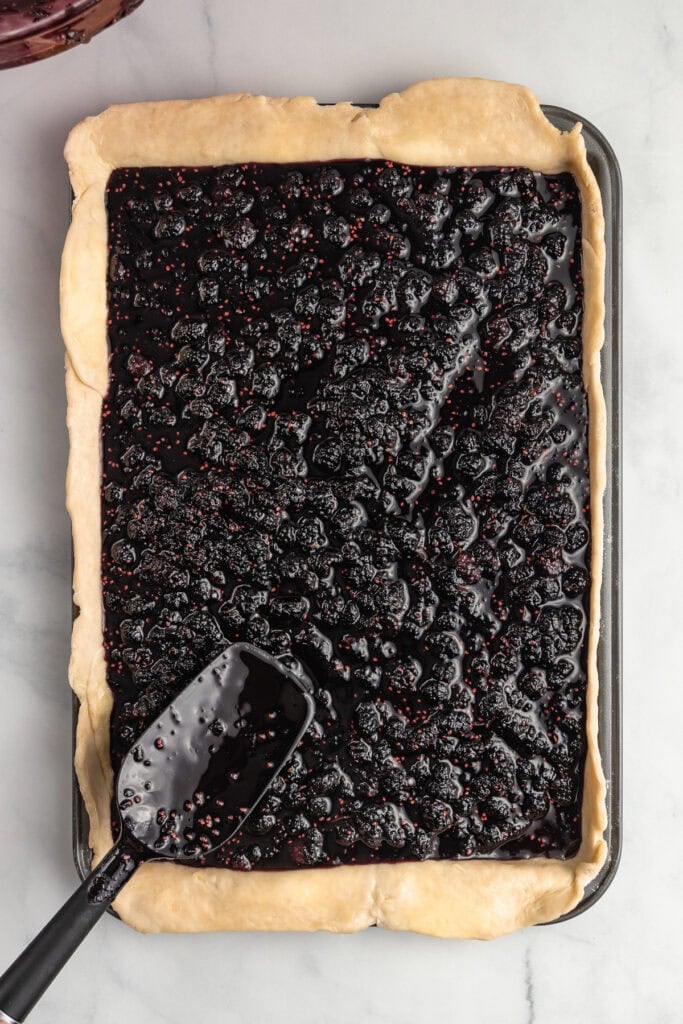
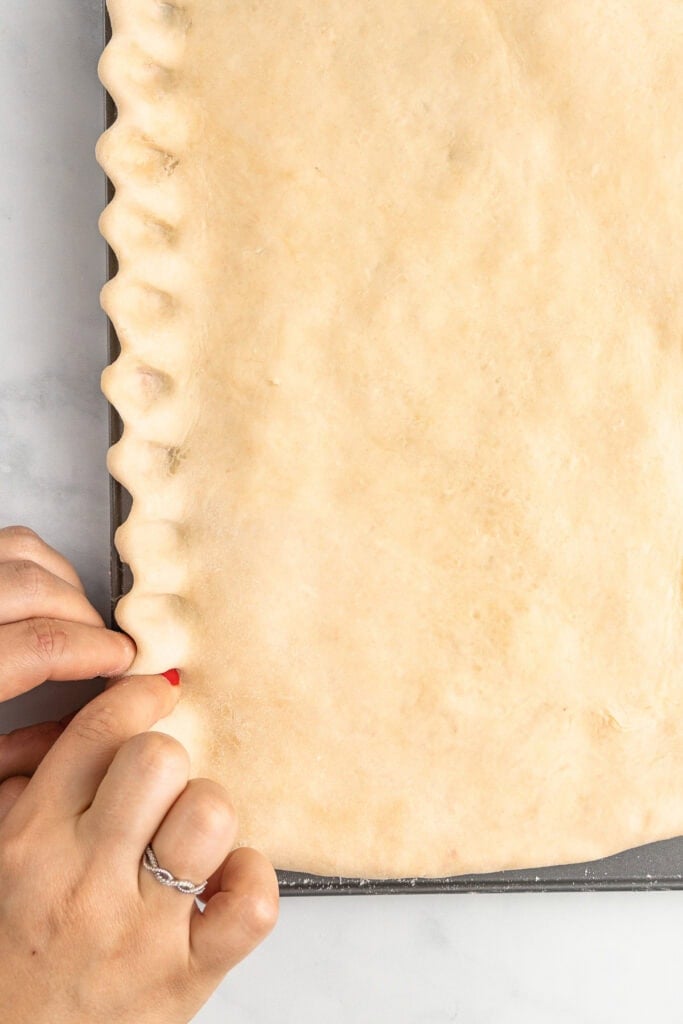
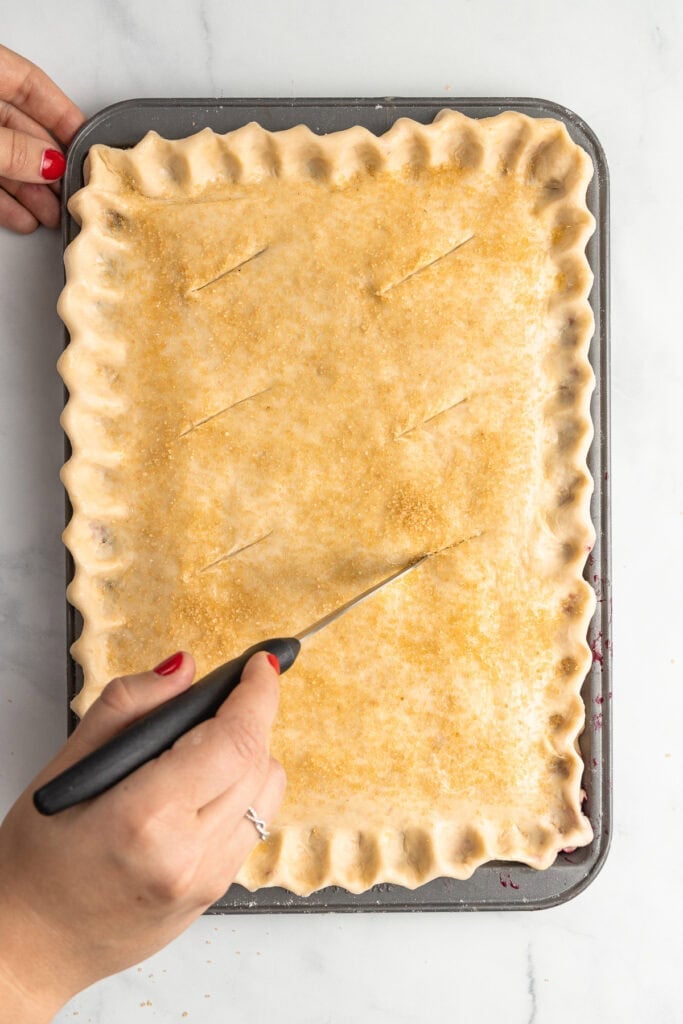
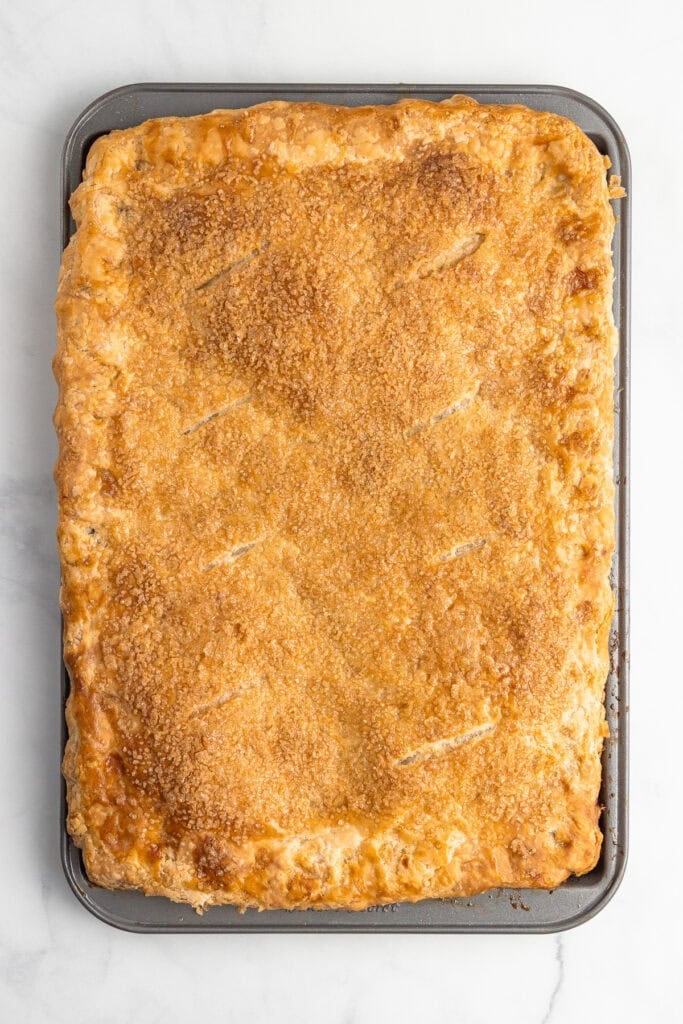
Precooked Pie Filling
It may seem excessive to cook the fruit filling before assembling the pie, but mulberries have a high moisture content. When they cook they break down and release that moisture.
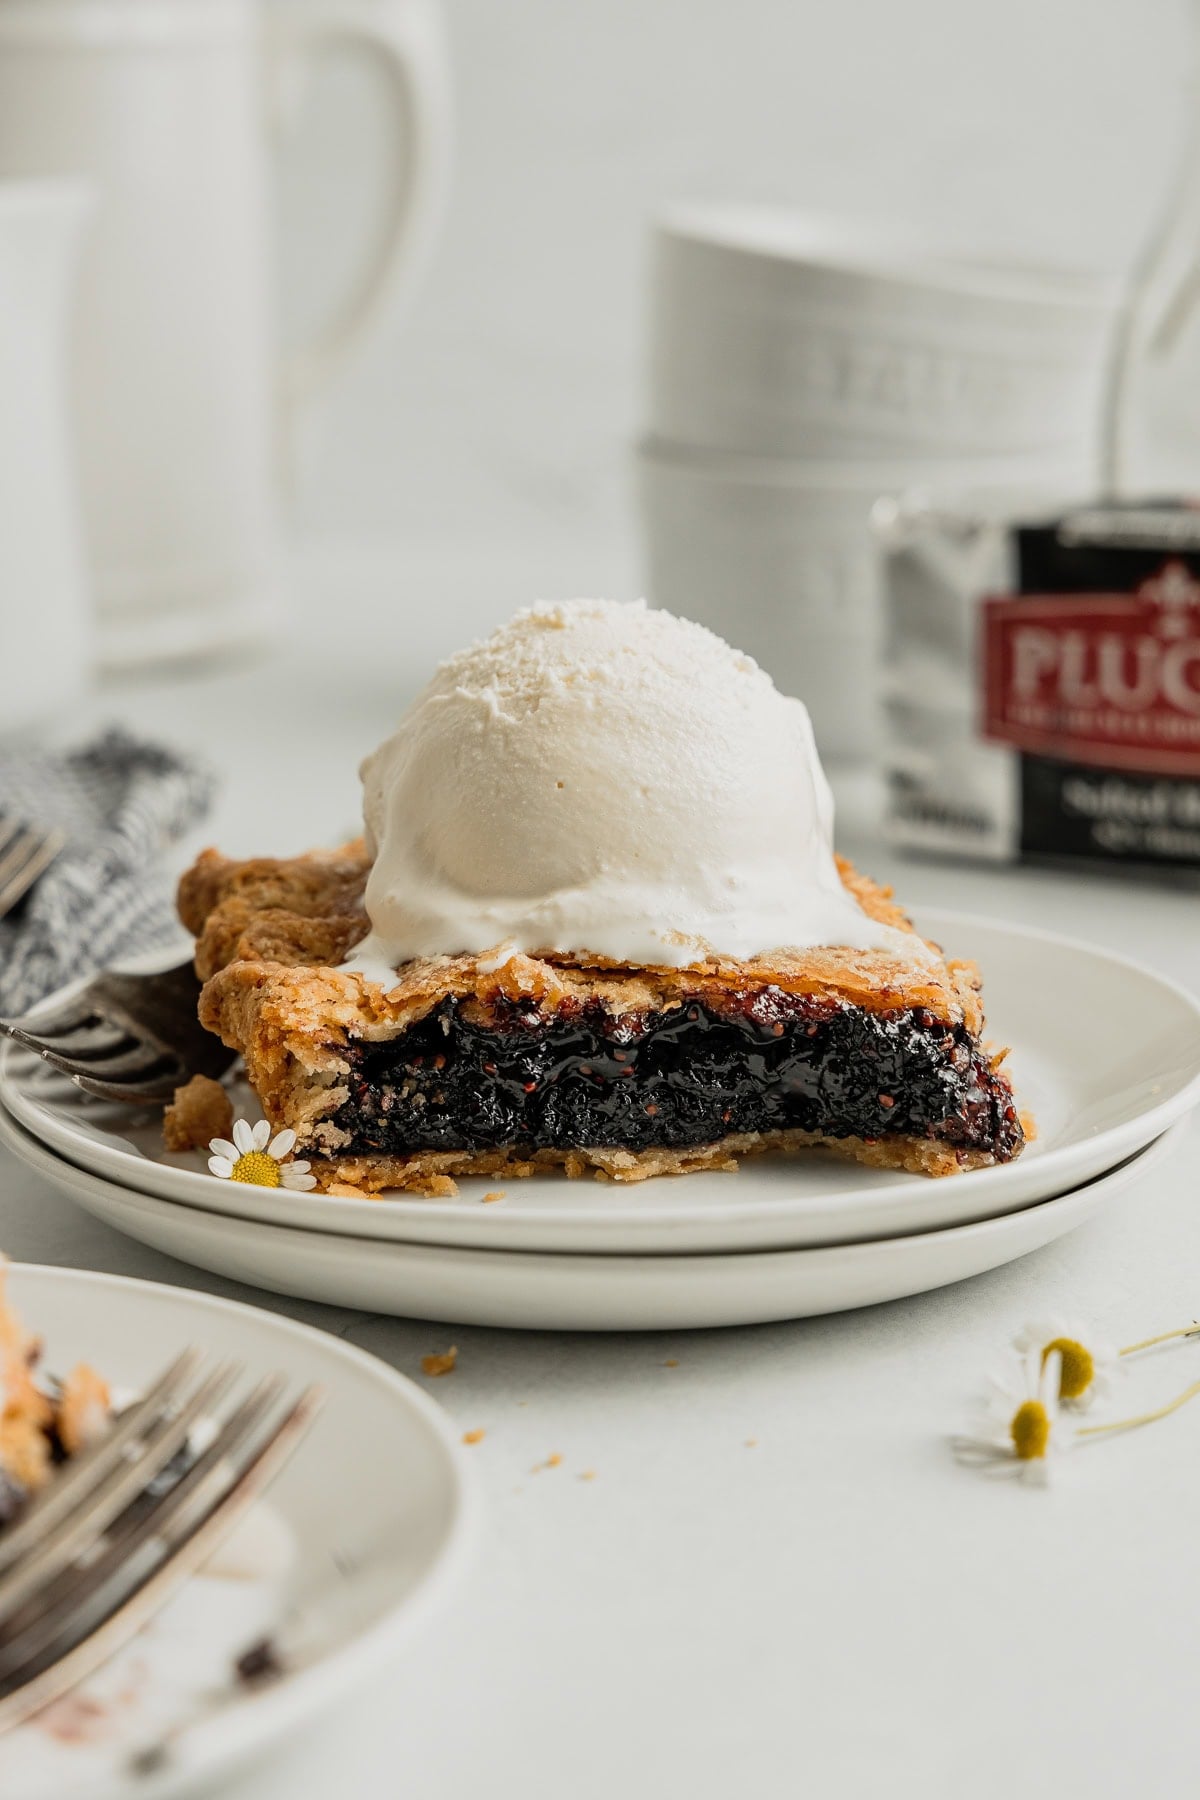
That’s great when you want a simple, syrupy, and sweet mulberry compote to serve over ice cream, but not when you want a piece of pie that can be sliced and served with ease.
Cooking the filling beforehand ensures that you don’t end up with a soggy mess leaking everywhere. (It also prevents a runny, drippy mess in the oven!)
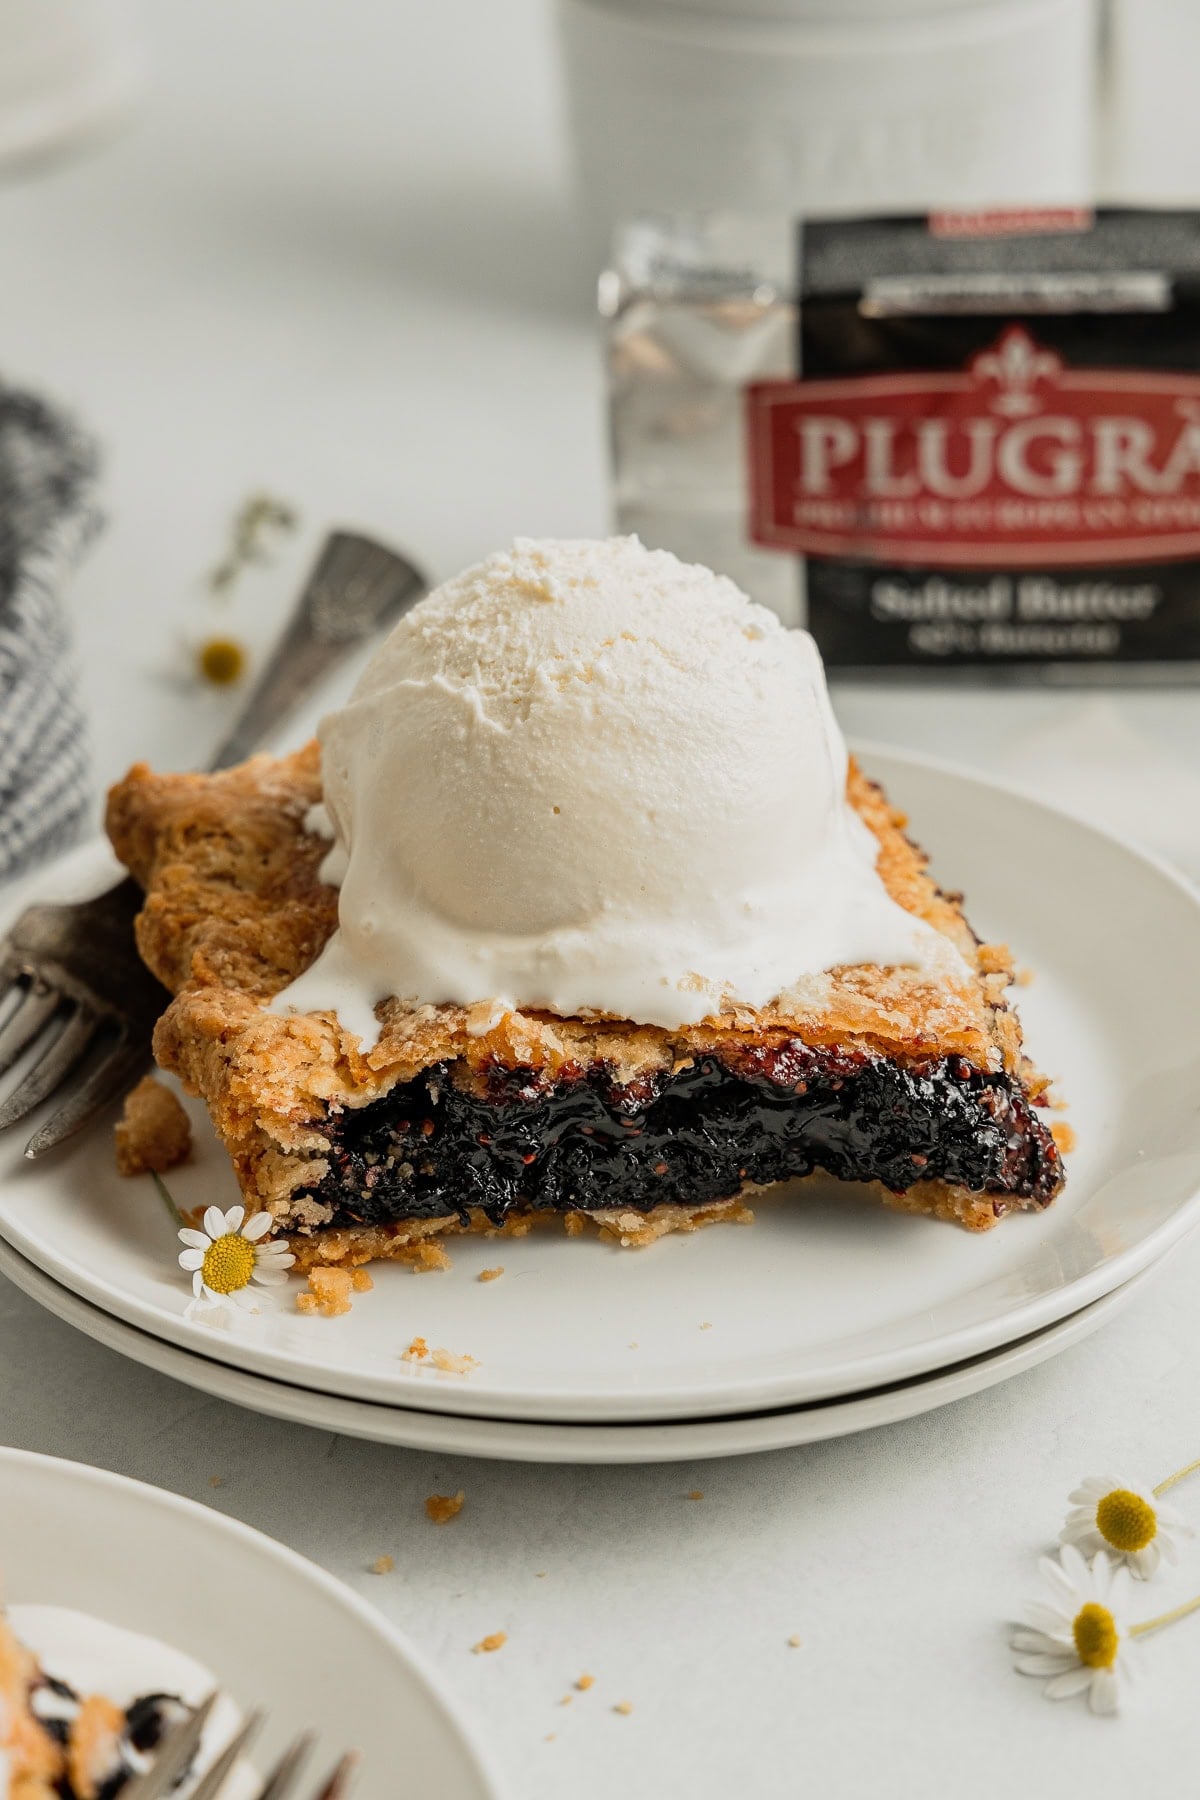
Trust me, I tried not pre-cooking the berries. (If it works for a simple mulberry cobbler, why wouldn’t it work for pie?) I also tried only cooking half the berries and adding the rest fresh. It still wasn’t right.
Just like my deep-dish apple pie I found cooking the fruit filling beforehand, letting it cool, and then adding it to the crust was the winning combination!
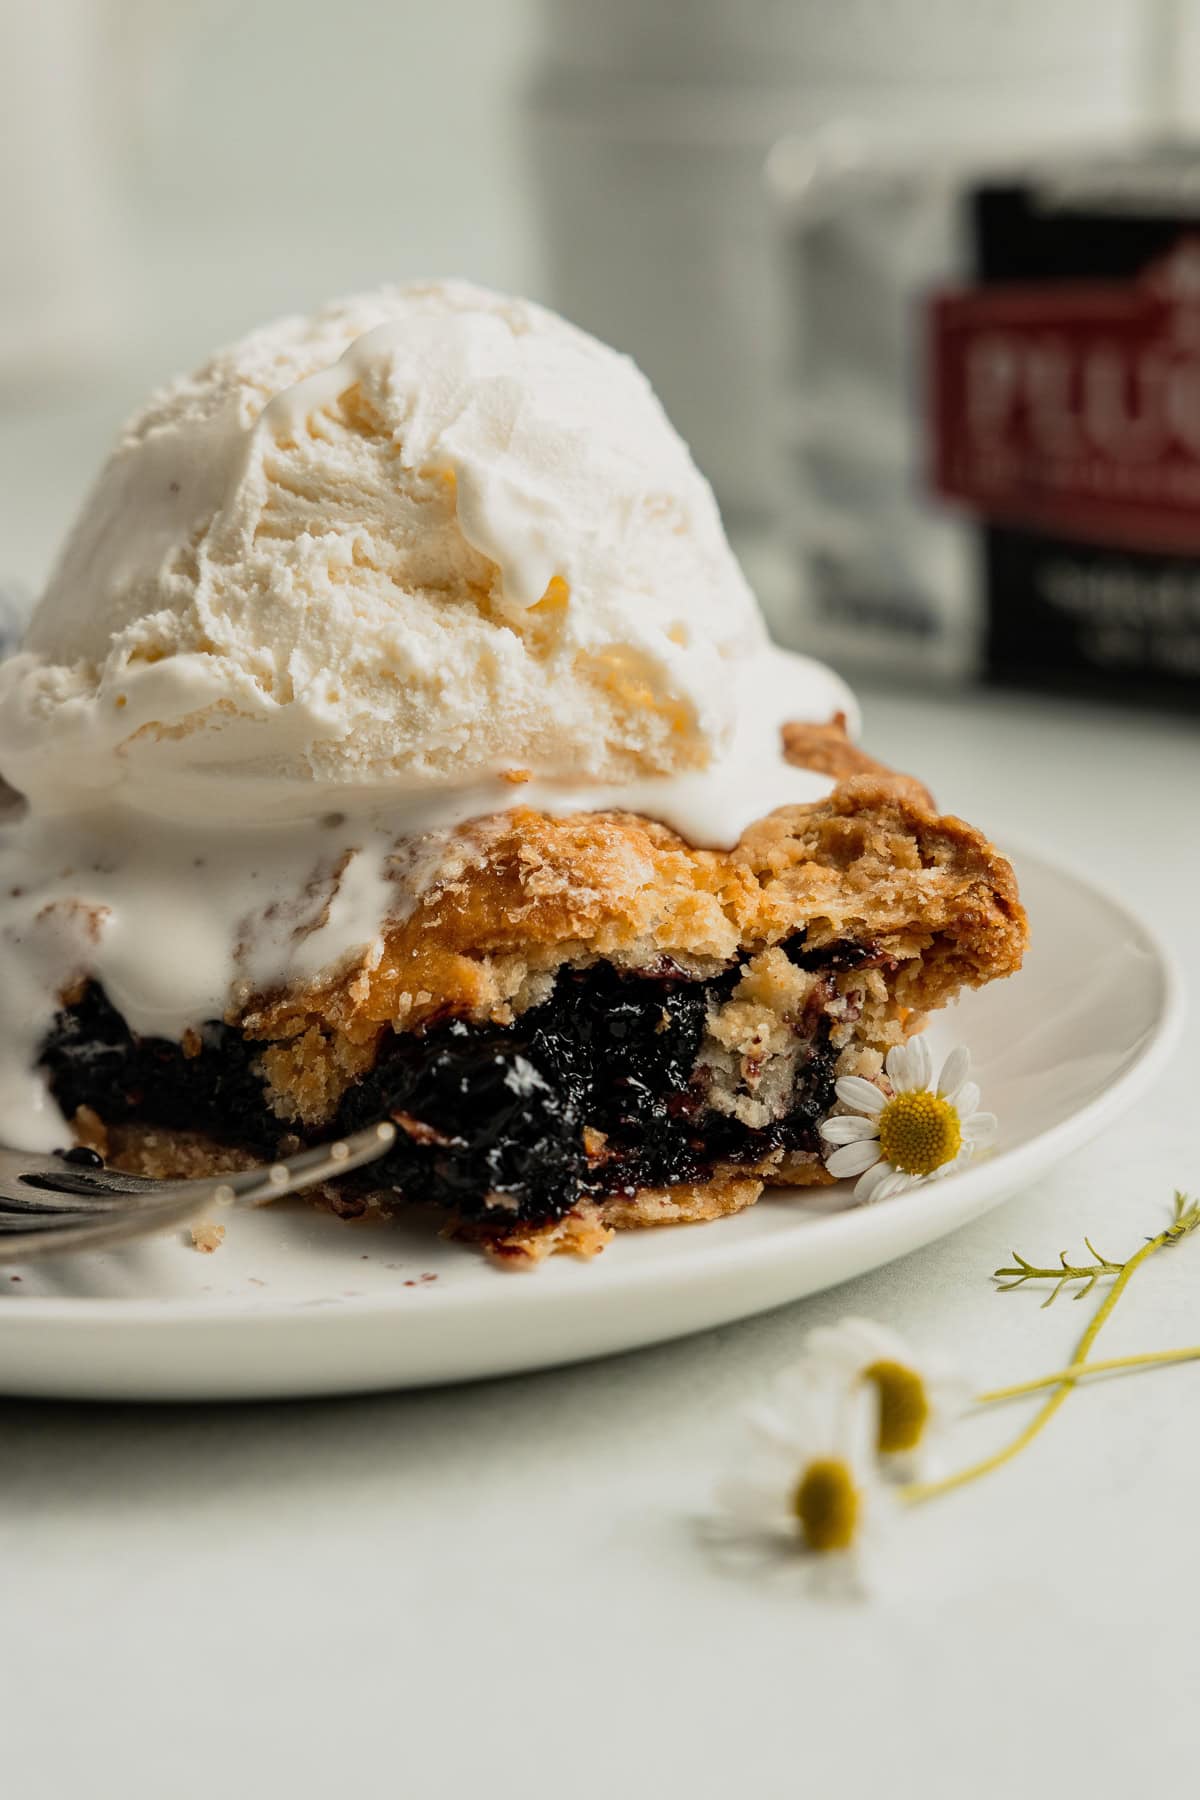
And who doesn't want to be a winner?
Mulberry Pie Bars in a Buttery, Flaky Crust
Equipment
- 9x13 jellyroll pan (or small, rimmed cookie sheet)
- Rolling Pin
- Pastry Brush
- Large Saucepan
Ingredients
For the Buttery Pie Crusts:
- 4 cups flour, divided
- ¼ cup sugar, divided
- 1 cup (2 sticks) unsalted Plugrà butter, cut into large cubes and chilled, divided
- ¼ cup lard, divided
- 1 cup ice water in large glass measuring cup (more or less, depending)
For the Mulberry Pie Filling:
- 2 pounds mulberries, fresh or frozen
- 2 cups sugar, divided
- ¼ cup corn starch
- 2 teaspoons vanilla extract
- ½ teaspoon salt
- 1 lemon, zested and juiced
- 2 tablespoons unsalted Plugrà butter
Instructions
For the Buttery Pie Crusts:
- In a large mixing bowl, whisk together 2 cups flour and 2 tablespoons sugar. Using your fingers, gently toss ½ cup of cubed Plugrà butter and 2 tablespoons lard into the dry mixture. Next, push each large piece of butter and lard in between your thumb and index finger. This will sort of flatten out the pieces and break them up. The pieces should be about the size of a quarter when you’re done.
- Working slowly, add the ice water to the dry mixture, one tablespoon at a time, mixing well after each addition. Dough is ready when it holds together in a ball after being pressed, with minimal cracks along the surface. Refer to my post all about pie crust for a very in-depth walk-thru.
- Pat dough into a small rectangle, sprinkle with a few drops of water, and wrap tightly in plastic.
- Repeat with the remaining ingredients. Working in two batches tends to result in better crusts and also makes sure they are even.
- Chill crusts in fridge for at least 30 minutes, if not longer, preferably overnight. (It is at this point I like to make my mulberry filling so it has time to cool, see instructions below.)
- If making crust ahead: it can be wrapped in plastic and refrigerated for up to 2 days. When ready to assemble pie, remove chilled dough for 20 minutes before rolling to make it easier to work with (if the dough is too cold it will crack).
- When ready to roll out, lightly dust work surface and rolling pin with flour. Roll one batch of dough into a rectangle that is at least 1 inch larger on all sides than your jelly roll pan. Place the first batch of rolled dough in the pan and prick with a fork. Cover with plastic wrap and place in fridge to chill.
- Roll out the second crust to another rectangle of the same size and place on cookie sheet or cutting board lined with parchment. Cover with plastic and place in fridge to relax and chill.
For the Mulberry Pie Filling:
- In a large sauce pot, toss together 2 pounds of the mulberries with ¼ cup corn starch. Add in 2 cups sugar, 2 teaspoons vanilla, ½ teaspoon salt, and the zest and juice of one lemon. Stir well to combine. Place berries over medium-low heat. Bring to a simmer, mixing occasionally, and cook for 15-20 minutes, or until berries are thick, syrupy and filling is shiny. You’ll know it’s ready and thick enough when you swipe a finger across the back of your spoon or rubber spatula coated in filling and the line doesn’t disappear (careful as the filling will be hot).
- Remove from heat and stir in 2 tablespoons unsalted Plugrà butter.
- Pour berries into a large glass bowl to cool to room temperature. (If desired, this can be done the day before baking the pie. Once cool, cover and refrigerate the berries overnight.) Your filling is now ready to become pie!
Assembling and Baking the Pie:
- Preheat oven to 425 degrees.
- Pour the cooled filling into the prepared crust and cover with the top crust. Fold top crust over the bottom and pinch to seal, crimping with fingertips (If necessary, trim off any excess dough over 1 inch past the edge of the pan. Brush crust with egg wash (1 egg whisked with 1 tablespoon water) and slice slits in the top to release steam. Sprinkle generously with additional granulated sugar, if desired.
- Bake in preheated oven for 15 minutes before lowering the temperature to 350 and baking for an additional 60 - 70 minutes, or until crust is deep golden brown and filling is bubbly and steaming.
- Remove from oven and cool on wire rack for at least one hour.
- Serve warm with vanilla ice cream or whipped cream.
Notes
- Pie can be stored, covered, in refrigerator for up to three days

Comments
No Comments