This post may contain affiliate links. This blog generates income via ads.


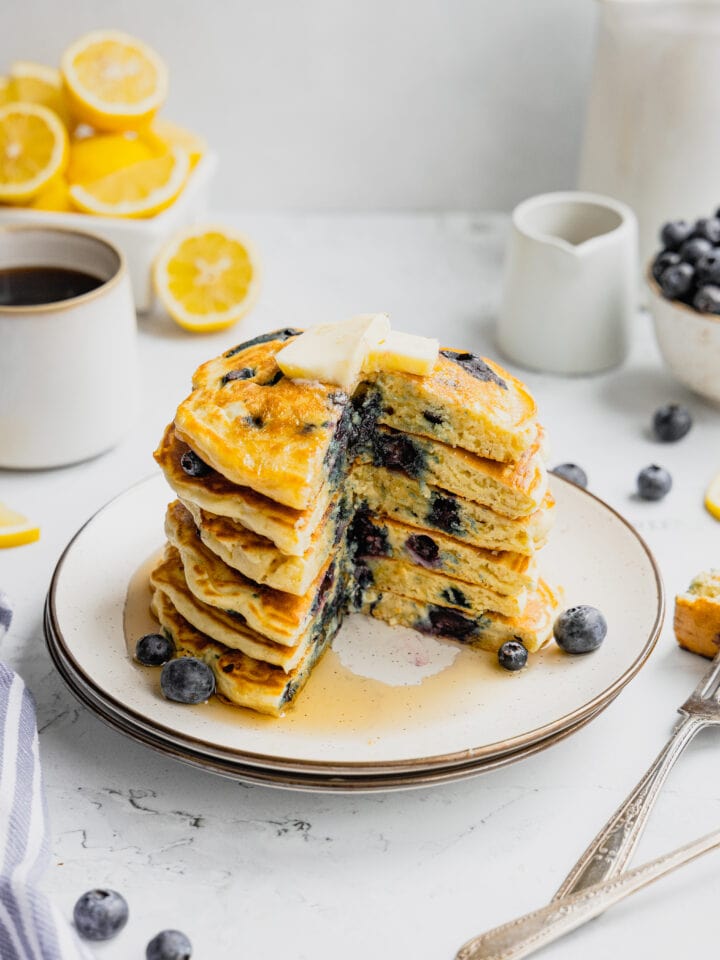
This post was originally posted on July 31, 2018 and was updated on April 17, 2021. These fluffy buttermilk pancakes are a breakfast dream come true! A simple homemade batter that gets whipped up in minutes produces pancakes that are light, fluffy, and tender. Perfect for a pat of butter and a big pour of real maple syrup! Enjoy this easy recipe again and again.

Buttermilk pancakes are one of the best breakfast foods, hands down. Tender, moist, and fluffy they are like little pillow of happiness just waiting to be devoured. Keep this quick recipe handy to enjoy every weekend!
Ingredients for this recipe
- Flour
- Sugar
- Baking Soda
- Baking Powder
- Kosher Salt
- Buttermilk
- 1 Egg
- Butter
- Vanilla Extract

Making fluffy, buttermilk pancakes at home
- Whisk the dry ingredients. In a large bowl. When making things like pancakes or muffins (LINK), sugar is typically part of the dry ingredient mixture!
- Mix the wet ingredients. Just whisk them all together in a large measuring cup or bowl.
- Combine the wet and the dry. And mix gently. It’s ok if there are a few lumps of flour.
- Let the batter rest. This is a key component to getting fluffy, tender pancakes and not flat, rubbery hockey pucks.
- Cook the pancakes. In a skillet (preheat it while the batter rests) lightly coated with butter or baking spray.


Buttermilk Substitutes
If you’re craving pancakes and are out of buttermilk, don’t worry! You can make a homemade substitute to enjoy these pancakes whenever your heart desires! Here are simple substitutes to make your own buttermilk at home.
White Vinegar – mix 1 teaspoon of white distilled vinegar into a glass of whole milk and let stand for five minutes.
Lemon Juice – Mix 1 teaspoon freshly squeezed lemon juice into a glass of whole milk and let stand for five minutes.

This recipe calls for room temperature buttermilk, so if need be, zap the whole milk in the microwave for 12 – 15 seconds before mixing in your acid of choice.
Why are my pancakes flat and rubbery?
Bad baking soda or baking powder – Leavener in this recipe is a key component to achieving pancakes that are light and airy. When the baking soda (which is basic) combines with the buttermilk (which is acidic) a chemical reaction occurs that produces gas bubbles. These bubbles help make the pancakes light!
If your baking soda or baking powder are old and have therefore lost their power, you won’t get the necessary chemical reaction. It’s always best to replace both baking powder and soda every six months.

Restless batter – Allowing the pancake batter to rest means that the flour can become properly hydrated and the gluten can start to relax. If you immediately start cooking the pancakes after mixing the batter, they won’t be as tender and delicate as they should. Always let your pancakes batter rest for at least 10 minutes!
Overmixing the batter – similarly, overmixing pancake batter will lead to chewy, tough pancakes. When combining the wet and dry ingredients, stop mixing just as the dry ingredients are fully incorporated into the wet and you no longer see streaks of flour.
Freezing pancakes
I love to freeze leftover pancakes so we can have them on hand when a cravings strike. To freeze pancakes, simply stack room temperature leftovers in a freezer-safe, zip-top plastic bag, squeeze out all the air, and freeze for up to two months.
Remove from the freezer to the refrigerator to thaw overnight before enjoying. Or! Place frozen pancakes in a toaster for 1 – 2 minutes, or until warmed through.

Other Great Breakfast Recipes
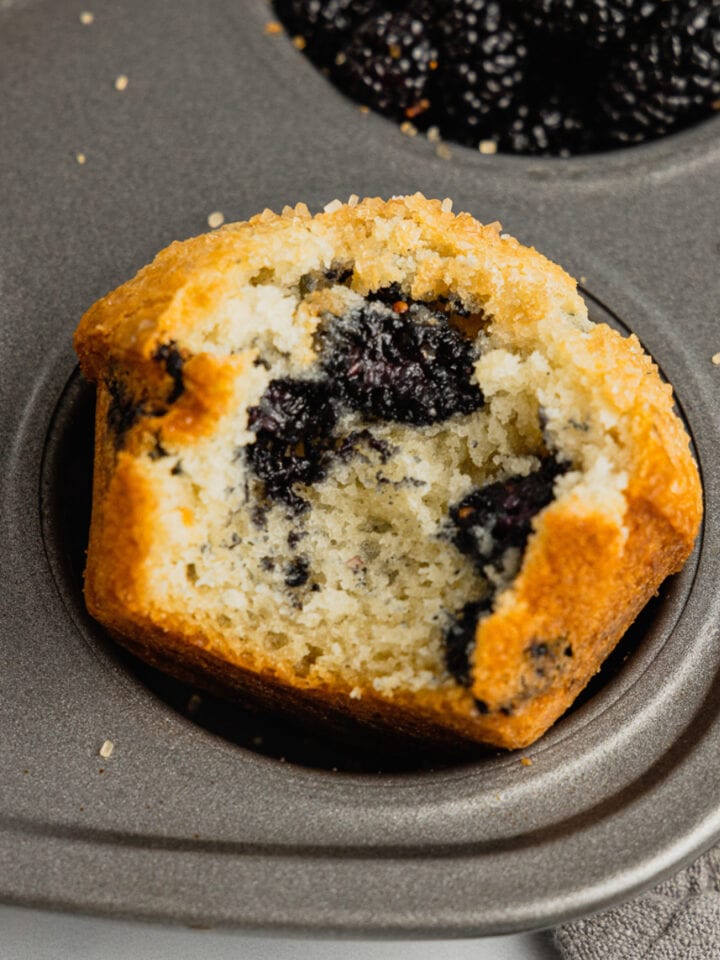
- Lemon Poppy Seed Muffins
- Sourdough Blueberry Muffins
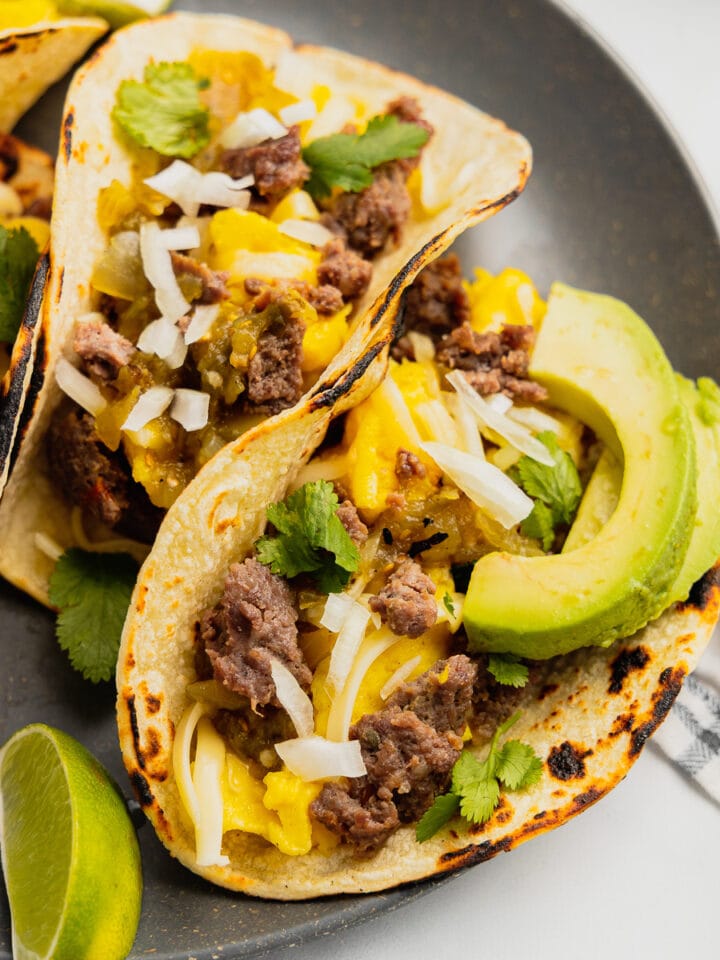
- Simple Breakfast Quesadillas
- Gingerbread Waffles
Watch the recipe video!

Fluffy Buttermilk Pancakes
Equipment
- Non-stick skillet
- ½ cup measure
Ingredients
- 2 cups buttermilk at room temperature
- 4 tablespoon unsalted butter melted
- 1 large egg at room temperature
- 1 tsp. vanilla extract
- 3 cups all-purpose flour
- ¼ cup sugar
- 2 tsp. baking soda
- 1 tsp. baking powder
- ½ tsp. kosher salt
Instructions
- In a large measuring cup, whisk together the buttermilk, melted butter, egg, and vanilla extract.
- In a separate bowl, whisk together the flour, sugar, baking soda, baking powder, and salt. Pour in the wet ingredients and stir to combine. Allow batter to rest for at least 10 minutes.
- Once the batter is mixed, set a non-stick skillet over medium heat. Add 1 tablespoon of butter to the pan (or lightly coat with baking spray).
- Use a ½ cup measure to portion out batter, one pancake at a time, into preheated pan. Cook the pancake until bubbles begin forming over the entire surface of the pancake and edges appear to begin drying out. Flip the pancake and cook for another 2 minutes, or until deeply golden brown and cooked through.
- Continue making pancakes until all the batter is used up. While cooking, keep finished pancakes warm on a plate in an oven set to 200 degrees. Serve pancakes with butter and real maple syrup.
Video
Notes
- Refer to post for freezing and thawing instructions and ingredient substitutions.
laura says
This recipe is absolutely delicious! I made it so that it was gluten free and just by adding a little more buttermilk it did the trick. I presented them to people who do not have to eat a gluten free diet as well and they said they thought they were amazing! Thanks for sharing this great recipe Amanda and awesome tip about keeping them warm in the oven!