
Learn how to mail homemade cookies to friends and family with this definitive step-by-step guide. This is the method I’ve used to mail cookies for years! It results in a perfectly prepared package that sees the cookies shipped safely every single time.

‘Tis the season for cookie baking! And for sharing those sweets with loved ones near and far. But how to do it? How do you safely pack and ship cookies in the mail?
Read this post for a comprehensive breakdown of how I assemble packages of cookies for the mail and learn how you can too!

Supplies for mailing cookies
While the homemade cookies are obviously an important part of a cookie care package, the supplies you use to pack and ship them are just as crucial! Here’s a list of what you’ll need:

- A Box. My favorite box to use is the large, flat rate priority shipping box from the USPS. Because there’s a flat fee of $21.10 there’s no surprise shipping cost. No matter how many cookies you shove into the box! (Please don’t really shove the cookies into the box.)
- Cookie Tin. While I love the whimsical boxes that are all over Instagram, it's best to choose a container with a lid when you're mailing cookies. Gotta protect the cookies! I like the metal ones that can be found at Hobby Lobby, JoAnn's, and Target this time of year.
- Bubble Wrap. Lining both the box and the tin with bubble wrap creates the first effective layer of cushion and crush protection.
- Plastic Wrap. Wrapping groups of cookies in plastic wrap is the first step in keeping the cookies as fresh as possible while being shipped!
- Plastic Bags. After being wrapped in plastic, the cookies get stored in zip-top plastic bags. Push out all the air before sealing to help ensure freshness! During the holiday season I like to use printed ones for added flair.
- Tissue Paper/Shredded Paper. You can use tissue paper, newspaper, or even crumpled paper bags to further cushion your cookies. Save paper that stores like TJ Maxx and Home Goods use to wrap breakables as it makes great packing material! Shredded paper falls into all the nooks and crannies around your cookie box.
- Ribbon/Twine. Wrap the cookie box in ribbon or twine to secure the lid tightly, if desired.
- Tape. Quality packing tape around the outside of the box ensures the box won’t fall apart during shipping.
The best stuffing for shipping cookies
Want to know the biggest secret when it comes to packing and shipping a care package of cookies? Popcorn!
Yes! Popcorn! Bags of popcorn arranged around the tin act as extra, edible cushion. Regular popcorn works, but fun options like puffed caramel corn or peppermint popcorn are extract special this time of year.
How to ship cookies in the mail?
Wrap the cookies in plastic wrap. Small stacks of 3 to 5 of the same cookies is best.

Seal the wrapped cookies. In zip-top plastic bags. Printed ones are a festive, fun option during the holidays. Make sure all the air is removed from the bag before sealing.

Line the cookie tin. First with bubble wrap, then with tissue paper. Allow the paper to hang over the edges of the tin.

Pack the cookie tin. Place the cookie stacks on their sides. This will allow you to pack more cookies and protect them from getting smushed or crushed in the container. Add in candies and chocolates, too, if desired.

Cover the tin. With the paper overhang and then close the lid.

Place the tin in a box. Make sure the box is lined with bubble wrap and then crumpled paper before placing the cookies inside. Choose a box that is a few inches larger than your cookie tin. This will allow space for extra cushioning.

Cushion the tin. With more tissue or craft paper or POPCORN! Popcorn is a great packing material as well as snack!

Don’t forget the card! Be sure to add the card into the box so your recipient knows who the package is from.

Cover the cookies. Top off the whole box with shredded paper before taping shut with packing tape.

Label the box. In addition to making sure the box is properly addressed, write the word “Fragile” on the box. This lets USPS carriers know to be extra careful when handling the cookies. If desired, write the word “Up” along the sides of the box with arrows pointing upwards. This will ensure the box doesn’t get flipped and tossed around.

Tips for safely mailing cookies
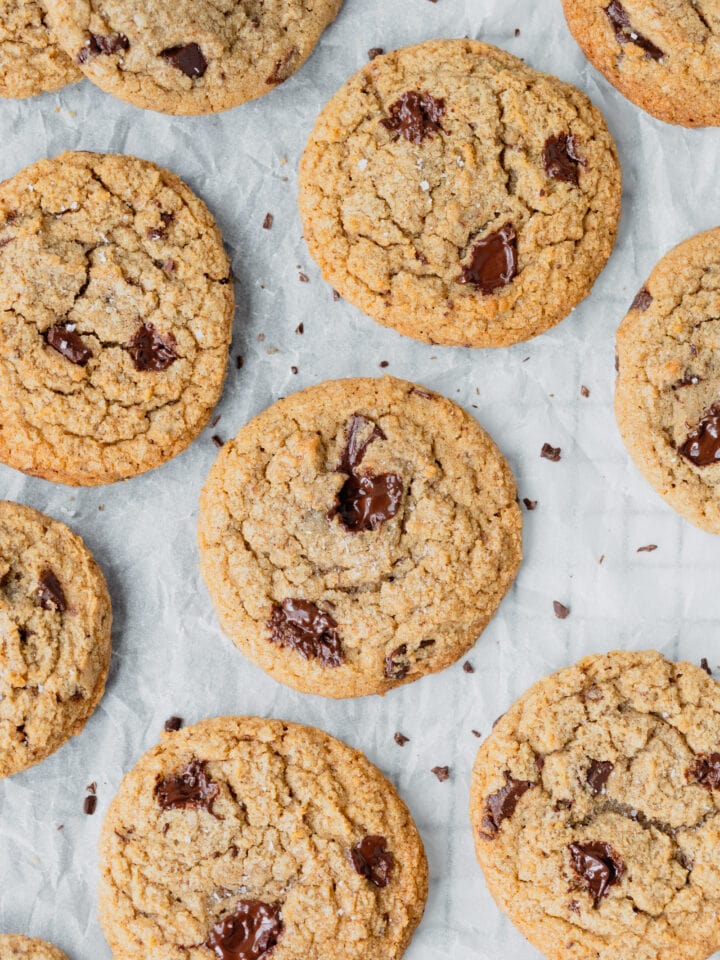
Fresh is best. Use the freshest cookies possible. Either ones made that day, or the evening before. If baked and packaged the same day, make sure the cookies are totally cool before wrapping in plastic!
Less is more. We all want to make sure our loved ones are getting as many cookies as possible, but be sure not to overstuff the package. If the package is too full, you risk damaging the cookies during packing and the recipient could ruin the cookies when opening.

Above and beyond. To really ensure freshness you can use a vacuum sealer to suck out all the air from your cookie care package. I like to either do this with each individual cookie stack or seal the entire tin once it is packed.
Forgo frosting. Not only can frosting spoil, but mailing frosted cookies is a more difficult process. It requires more packing materials for less cookies. Skip cookies covered in soft, squishy frosting and opt for unfrosted cookies or gingerbread men decorated with hard royal icing, if desired.


Go forth and successfully mail cookies!

How to Ship Cookies in the Mail
Equipment
- Shipping Box
- Bubble Wrap
- Tissue/Craft Paper
- Plastic Wrap
- Zip-Top Bags
- Cookie Tin
- Shredded Paper
- Packing Tape
- Scissors
- Permanent Marker
- Homemade Cookies
- Popcorn (optional)
Instructions
- Prepare your shipping box by taping the bottom shut with packing tape. Line the bottom with bubble wrap and crumpled tissue or craft paper and set aside. Be sure to choose a box that is a few inches larger than your cookie tin. This will allow space for extra cushioning.
- Wrap small stacks of 3 to 5 of the same cookies in plastic wrap. Then seal each stack in individual zip-top bags. Gently press out the air before sealing each bag. During the holidays, printed, festive bags are extra fun!
- Line the cookie tin. First with bubble wrap, then with tissue paper. Make sure the paper is hanging over the sides of the container.
- Pack the cookie tin. Place the cookie stacks on their sides in the tin. This will allow you to pack more cookies and protect them from getting smushed or crushed in the container. Add in candies and chocolates, too, if desired.
- Cover the cookies with the tissue paper overhang and close the lid. If desired, wrap tin in twine or ribbon to ensure it will remain close no matter what.
- Place the tin in the prepared shipping box.
- Cushion the tin. With more tissue or craft paper, or POPCORN! Popcorn is a great packing material as well as snack! Arrange small bags of popcorn around the edges of the box to ensure the cookie tin won’t move an inch.
- Don’t forget the card! Be sure to add a card into the box so your recipient knows who the package is from.
- Cover the cookies. Top off the whole box with shredded paper before taping shut with packing tape.
- Label the box. In addition to making sure the box properly addressed, write the words “Fragile” on the box so USPS carriers know to be extra careful when handling the cookies. If desired, write the word “Up” with arrows pointing up toward the top of the box along the sides so the box doesn’t get flipped and tossed around.
- Mail the box! As soon as it’s packed to ensure the cookies arrive quickly to your loved one.
Lynda smith says
What box did you use for your Christmas cookie box
Amanda Gajdosik says
Hi Lynda,
I bought the tin from a craft store and the box itself is a USPS large flat rate box. You can pick them up for free at your local post office and only pay for the flat rate shipping cost when mailing out the cookies. Hope this helps 🙂
Amanda
Anita says
I love this so much! Just linked to it in my cookie box post! I can't wait to use your tips to send cookies to my far away friends and fam. Love you my friend! Happy Holidays. xo - Anita